Looooooong Overdue Update...
19 - June - 2010 - 07:28
So, yes, I realize I became one of those people that starts up a blog with all the intentions of keeping it updated, and then fell behind. But now I'm back and I've got a bunch of updates!
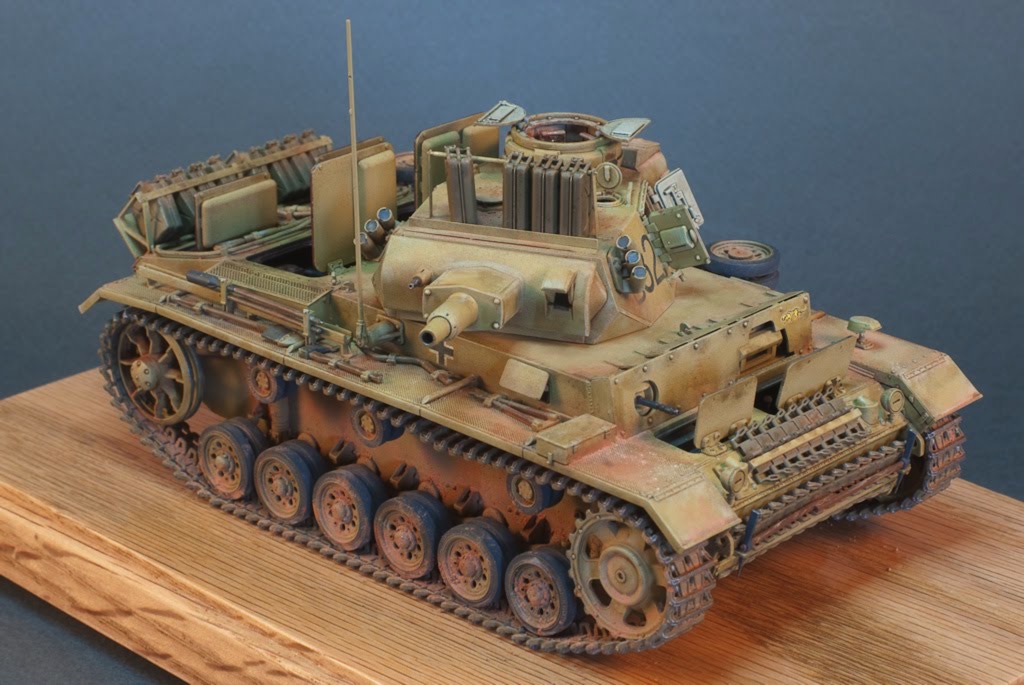
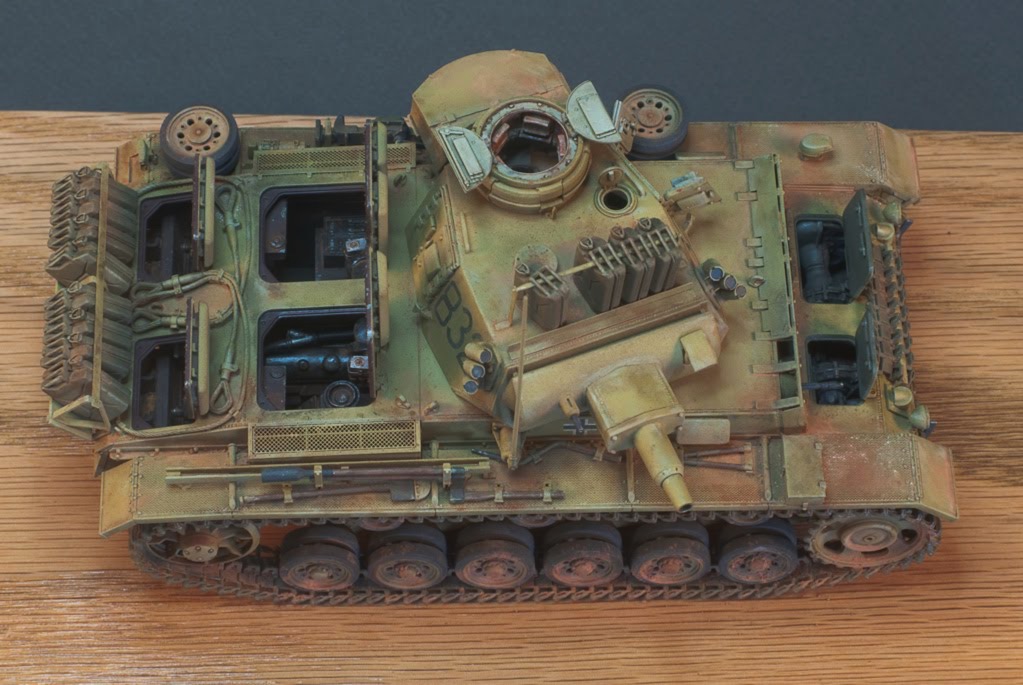
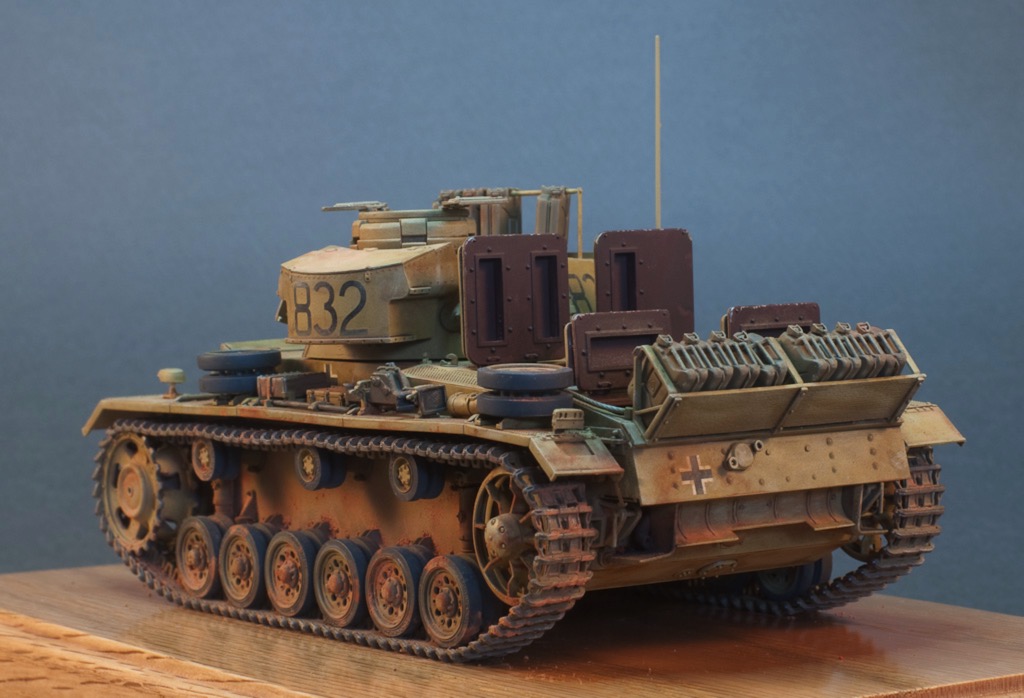
First and foremost, I've finished the Panzer III and have some photos of the finished project. I forgot to take photos of the outside, as I was putting everything together, so I really just have the images of the finished model. Everything on the outside was pretty straight forward, without all the complicated resin construction that the interior had.
The difficult bits of the exterior were really just the assembly of the individual-link plastic tracks and then the final assembly and weathering of the whole tank. I managed to get the tracks assembled by sticking the track links to a strip of thin masking tape, then draping that over the various wheels, and once in place, dabbing glue to where the tracks touch one another. I found that I could make each side in four or so sections, which still allowed me to take the tracks back off, paint them, and then, once the rest of the tank was painted, put the tracks back on again.
The painting was simply an airbrushed coat of dark yellow on most of the exterior, with a few of the detail parts picked out in other colors by hand. The road wheels were originally painted in German Grey, and then, using a plastic circle template as a mask, the centers were sprayed the same dark yellow as the rest of the tank. After the base coats were complete, I sprayed a slightly darker yellow into the nooks, crannies and corners to get a bit of shading. This was followed by a pass of drybrushing with a light tan to help pick out corners, details and texture.
Next came an extensive application of Mig Pigments. These are just colored powders, that get dusted onto the surface and then a bit of thinner is touched to the powder, and that helps it stick to the surface and flow into the texture of the surface and in between details. This serves to both further pick out detail when using a darker color pigment, and also to add dirt and grime when using lighter tones.
Once that was done, I cut a chunk of red oak for a base, put a few coats polyurethane on that and called it done! Since then, I have grown less happy with the base, feeling that it needed to better contrast with the model, so stay tuned for an update on that.
Here are a few images of the completed model, but see the completed models section of this web site for more.


blog comments powered by Disqus
