
Front Porch Planter Boxes
23 - September - 2019 - 20:23
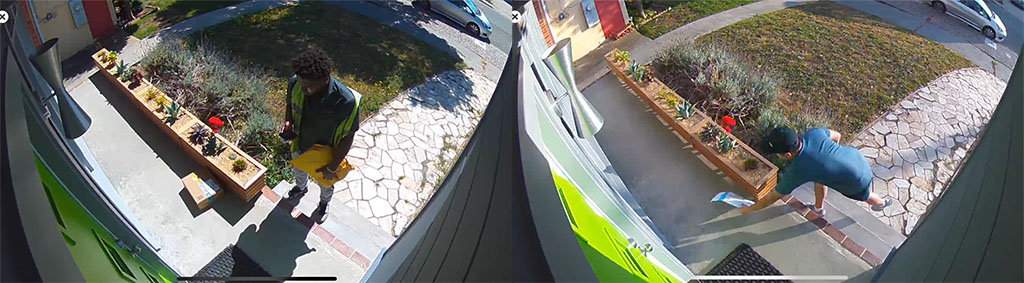
After the holidays last year, it became quite apparent that any packages left on our front porch by delivery people were on display for all to see. Not that we had anything stolen, but it seemed like it was just a matter of time. It got me to thinking about a way to help fix that problem and perhaps spruce up the front porch a bit in the process.
After some discussion with the wife, a bit of measuring and a quick mock-up on the computer, I settled on building some planter boxes that would run all the way across our front porch and both make things look nicer and give the delivery folks a place to hide small-to-medium packages.
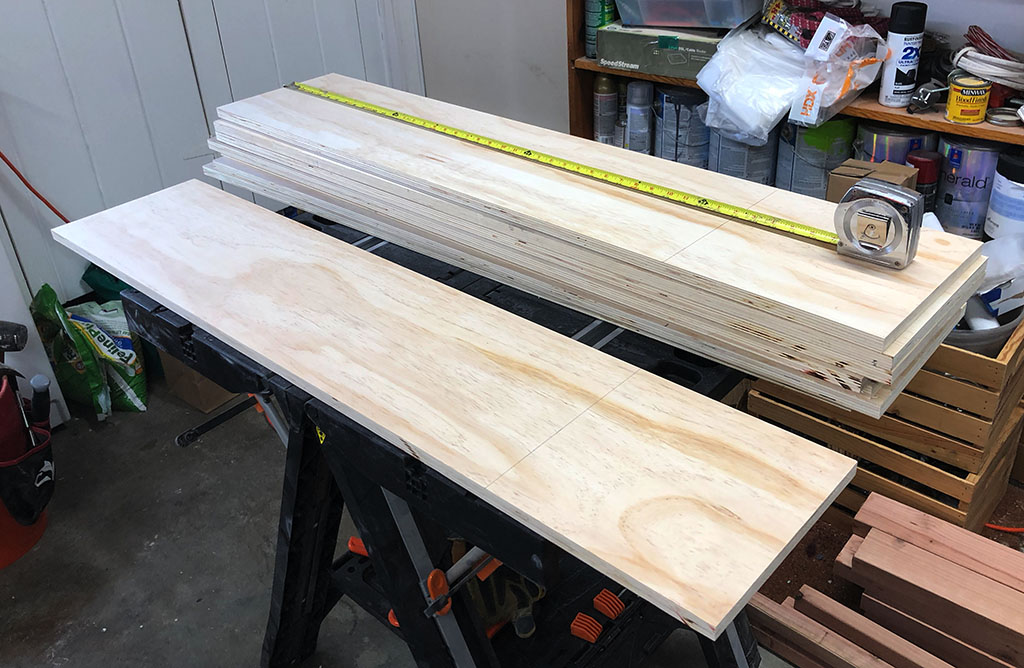
This was a pretty quick and easy weekend project, using a sheet of plywood and a few pieces of construction redwood. The first order of business was to cut down the plywood to make the sides of the planter boxes.
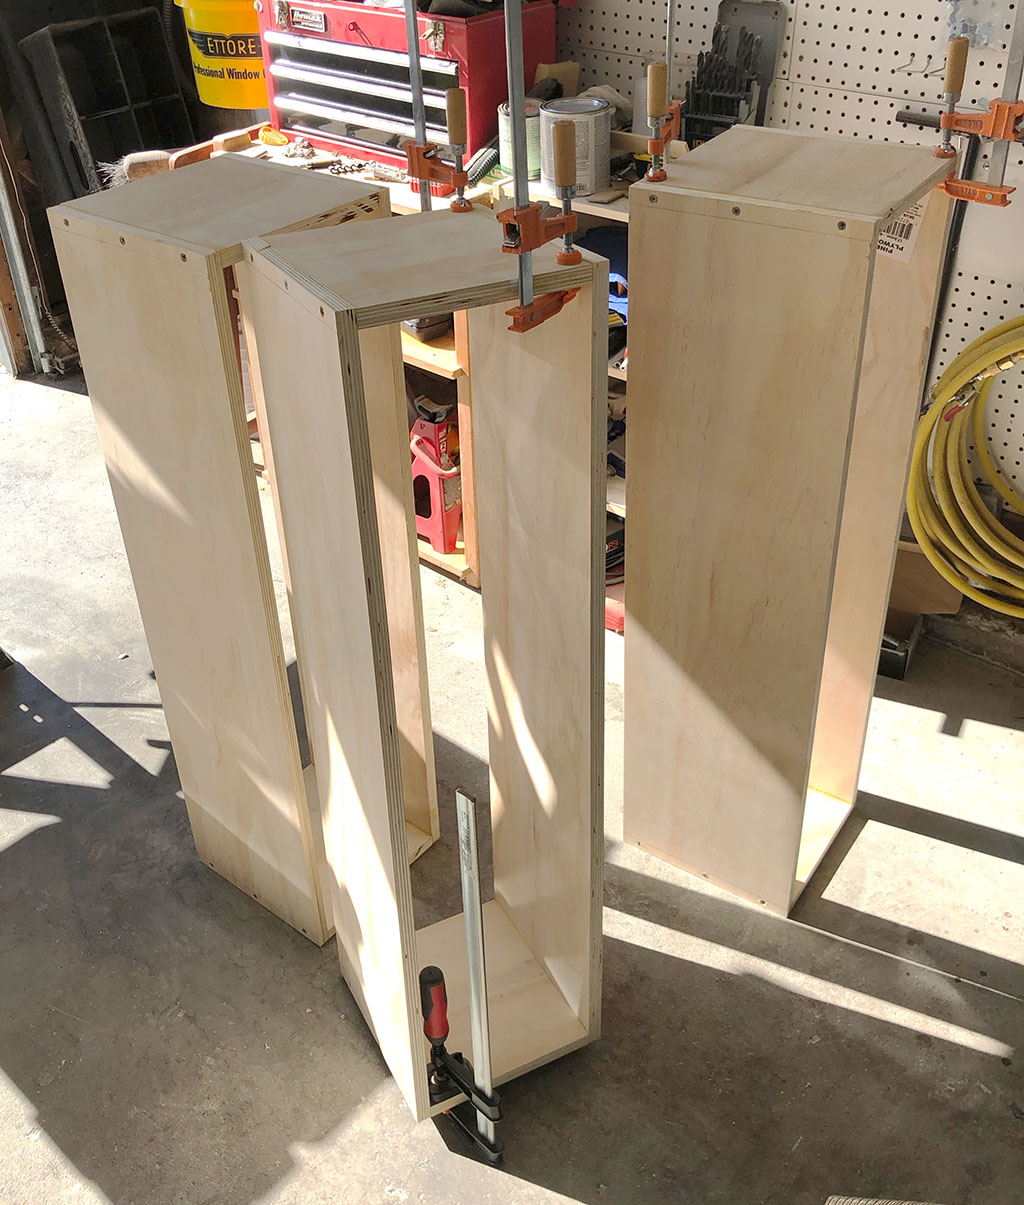
Here you can see the boxes screwed together. The clamps are there to help glue back together the few places where the plywood split apart a bit at the edges (probably should have drilled larger pilot holes).
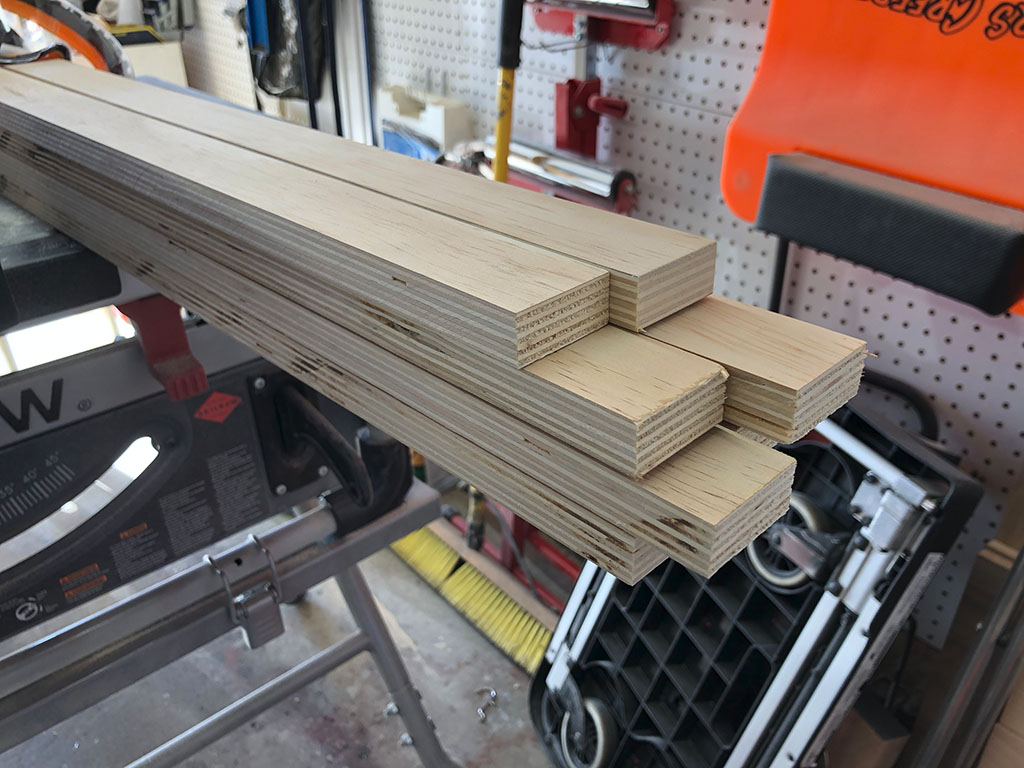
The idea was to have a plastic planter box nest inside the wooden boxes, so that the wood wasn’t in constant contact with the soil itself. That meant that I needed a lip inside the boxes for that plastic box to rest on. I cut the remaining plywood into narrow strips, as seen here.
The strips were then glued and screwed in place, and the screw holes filled. Here you can see the stack of boxes waiting for the filler to dry.

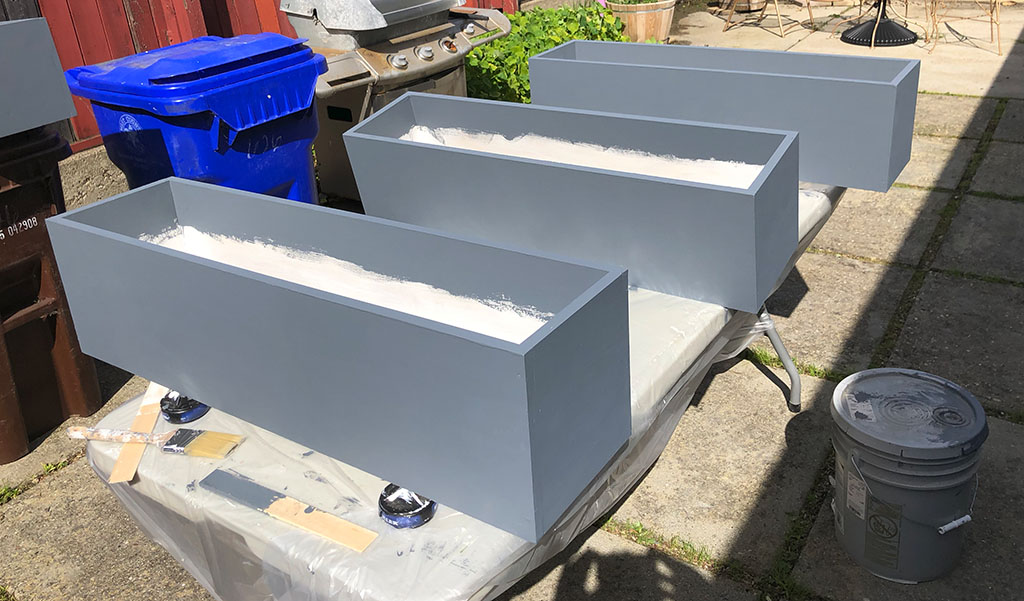
The next step was to prime the entire box, to make it a bit more weather-resistant, and then paint the outside surface to match the color of the house. We had a decent amount of leftover paint from painting the house, so all I had to do was dig the big bucket out of the shed and slap on a few coats.
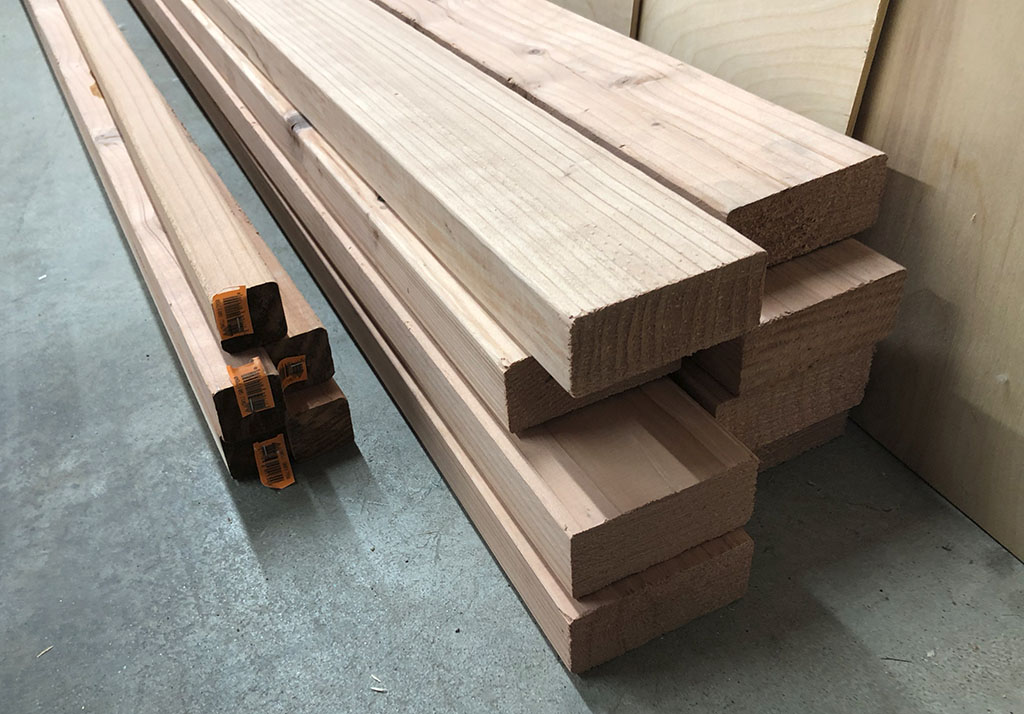
The construction redwood that I mentioned earlier was to be milled square and then cut into strips that will be nailed to the sides of the boxes for ornamentation. I used the 2x4’s for that and the small square stock was to be cut down and made into little legs for the boxes, in order to get them up off the ground.
Once again, I did a poor job of documenting this part, but just imagine me running the 2x4’s through the planer to clean up the top and bottom surfaces and then ripping ¼” thick strips from those on the table saw. In the interest of keeping my fingers, I could only use about two thirds of each piece of wood, as beyond that it got a little dicey feeding the wood through the saw blade.
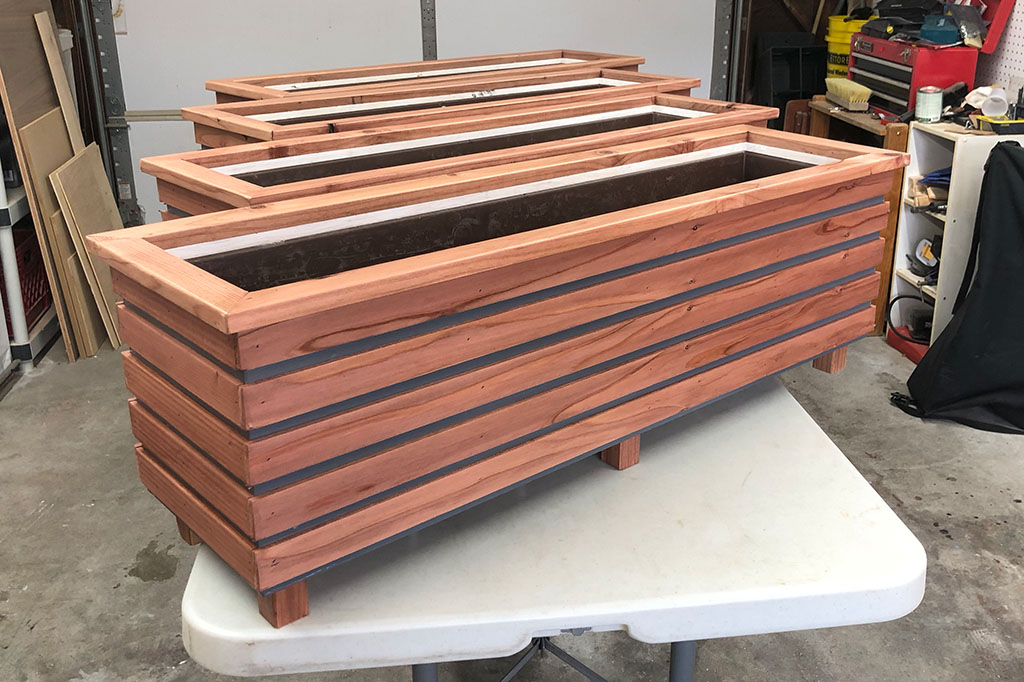
But I was able to use some of the excess wood to make a nice little lip around the top edge of each box. Here you can see the four boxes all lined up and ready for finishing. You can also see here how the brown plastic planter boxes fit inside the wooden boxes.
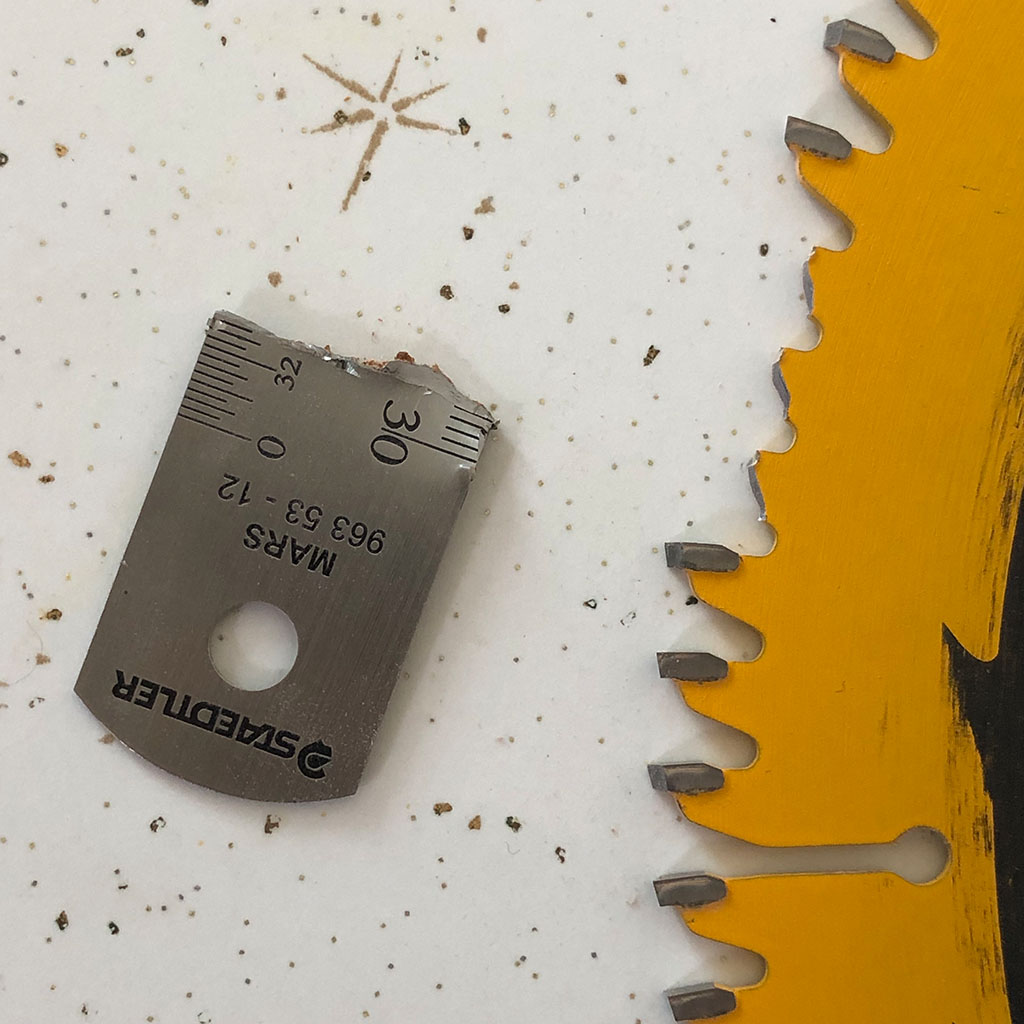
Just a reminder to double check your miter saw for non-wood items before make a quick cut. In this case, I missed the shiny metal ruler that I had left on the shiny metal saw. I put my wood right down on top of it and cost myself a $90 saw blade. Live and learn.
Here’s the final result, with some fresh new succulents planted in them.
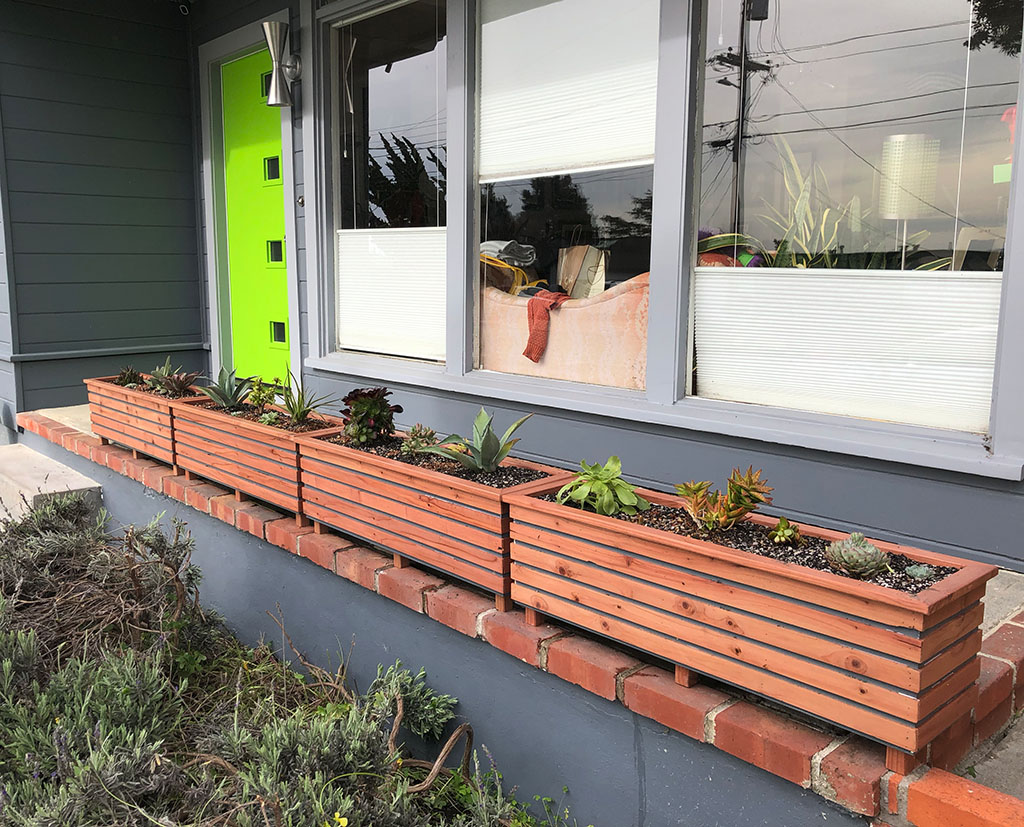
I’m happy to report that the delivery people have taken the hint and almost always put the packages behind the planters when no one is home.
This was a quick and easy project, using materials that are inexpensive and easy to find (although I did have to order the long plastic planter boxes from Amazon) and could easily be altered to fit most spaces.
Thanks for reading!
After some discussion with the wife, a bit of measuring and a quick mock-up on the computer, I settled on building some planter boxes that would run all the way across our front porch and both make things look nicer and give the delivery folks a place to hide small-to-medium packages.
This was a pretty quick and easy weekend project, using a sheet of plywood and a few pieces of construction redwood. The first order of business was to cut down the plywood to make the sides of the planter boxes.
Here you can see the boxes screwed together. The clamps are there to help glue back together the few places where the plywood split apart a bit at the edges (probably should have drilled larger pilot holes).
The idea was to have a plastic planter box nest inside the wooden boxes, so that the wood wasn’t in constant contact with the soil itself. That meant that I needed a lip inside the boxes for that plastic box to rest on. I cut the remaining plywood into narrow strips, as seen here.
The strips were then glued and screwed in place, and the screw holes filled. Here you can see the stack of boxes waiting for the filler to dry.
The next step was to prime the entire box, to make it a bit more weather-resistant, and then paint the outside surface to match the color of the house. We had a decent amount of leftover paint from painting the house, so all I had to do was dig the big bucket out of the shed and slap on a few coats.
The construction redwood that I mentioned earlier was to be milled square and then cut into strips that will be nailed to the sides of the boxes for ornamentation. I used the 2x4’s for that and the small square stock was to be cut down and made into little legs for the boxes, in order to get them up off the ground.
Once again, I did a poor job of documenting this part, but just imagine me running the 2x4’s through the planer to clean up the top and bottom surfaces and then ripping ¼” thick strips from those on the table saw. In the interest of keeping my fingers, I could only use about two thirds of each piece of wood, as beyond that it got a little dicey feeding the wood through the saw blade.
But I was able to use some of the excess wood to make a nice little lip around the top edge of each box. Here you can see the four boxes all lined up and ready for finishing. You can also see here how the brown plastic planter boxes fit inside the wooden boxes.
Just a reminder to double check your miter saw for non-wood items before make a quick cut. In this case, I missed the shiny metal ruler that I had left on the shiny metal saw. I put my wood right down on top of it and cost myself a $90 saw blade. Live and learn.
Here’s the final result, with some fresh new succulents planted in them.
I’m happy to report that the delivery people have taken the hint and almost always put the packages behind the planters when no one is home.
This was a quick and easy project, using materials that are inexpensive and easy to find (although I did have to order the long plastic planter boxes from Amazon) and could easily be altered to fit most spaces.
Thanks for reading!
blog comments powered by Disqus