Curtiss Jenny All Done!
14 - March - 2012 - 20:30
At long last, another model can be called done!
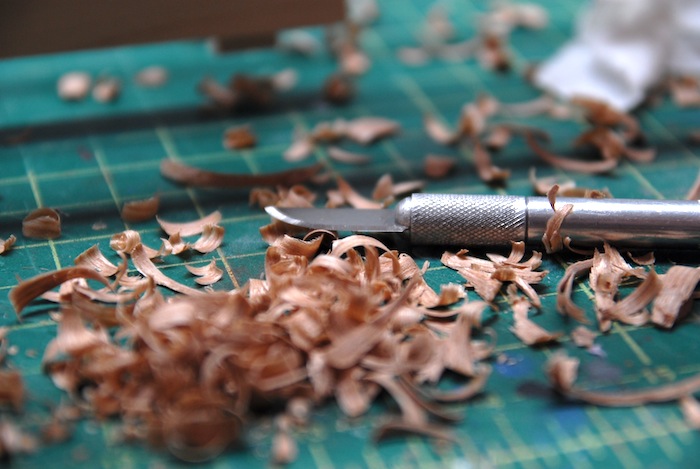
Since the last blog post, I've moved, gained a new (and improved!) model work space and managed to finish both the model and a simple base for it. Picking up where I last left off, I had a bit of carving to do to shape the propeller. It was constructed from a bunch of thin walnut strips, glued together to make a block that was thick enough to carve the prop from.
At the same time, I managed to start the wing rigging. There were a TON of wires on each side, which, on the real planes, kept the wings from folding up when flying.
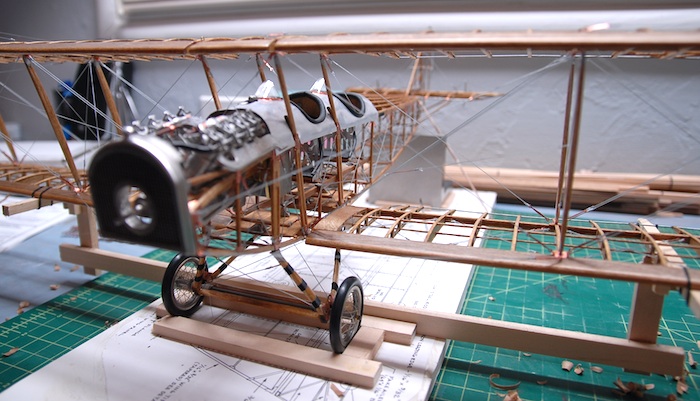
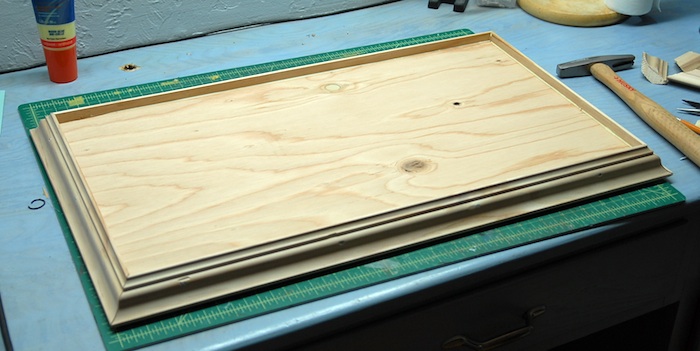
Once the wings were rigged up, there were a few extra wires to add on, the finished prop to attach and the plane was done! Next up was to put together a base of some sort to attach it to. I wanted some sort of base, so that I could fasten the model to it and thereby make it much easier to transport, less likely to damage and maybe add a bit of visual appeal. I headed to Home Depot and grabbed some plywood and wooden molding. Some quality time with a saw, and a few small nails, and I had myself the makings of a base. board.
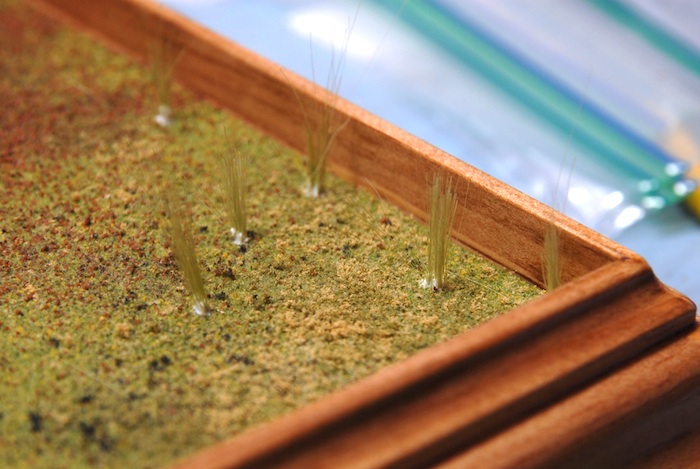
I decided that I wanted a simple covering for the base that was stain on the molding (that matched the plane) and a grass-like covering for the plywood. I grabbed some common model train terrain supplies and gave it a shot. This wasn't something that I had ever tried before, so I pretty much just winged it.
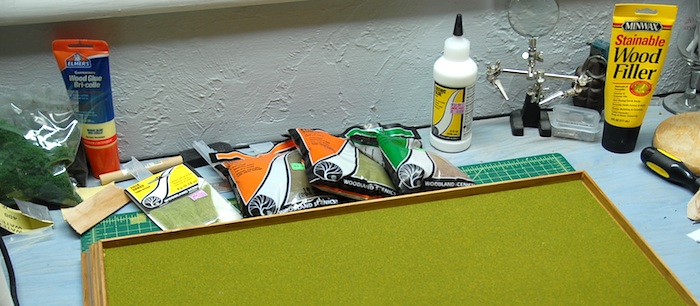
My shot at little tufts of grass:
 \
\
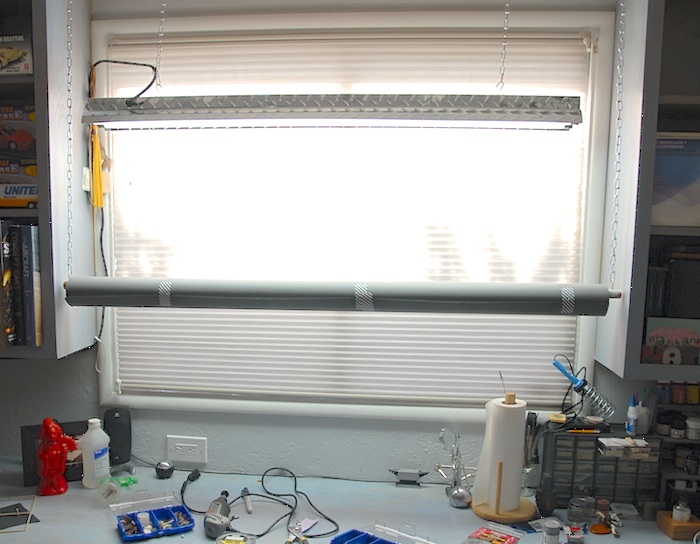
With that done, I was ready to photograph it. The challenge here was that this was pretty much the largest model I have ever made. I decided that instead of using my regular background, which is just a couple of large sheets of paper, I should instead order a proper roll of backdrop paper, which was 53 inches wide and way longer than I'll ever need. This presented me with the challenge of how to hang the roll up while shooting my photos without having to purchase a bunch of backdrop stands. After another trip to Home Depot, I came home with a broom handle and a length of light chain. A few hooks screwed into the broom handle (cut down by a few inches) and hooks into the overhead wood and I've got a removable paper roll hanger.
Then, I dragged out the photo equipment and spent an hour or two shooting photos.
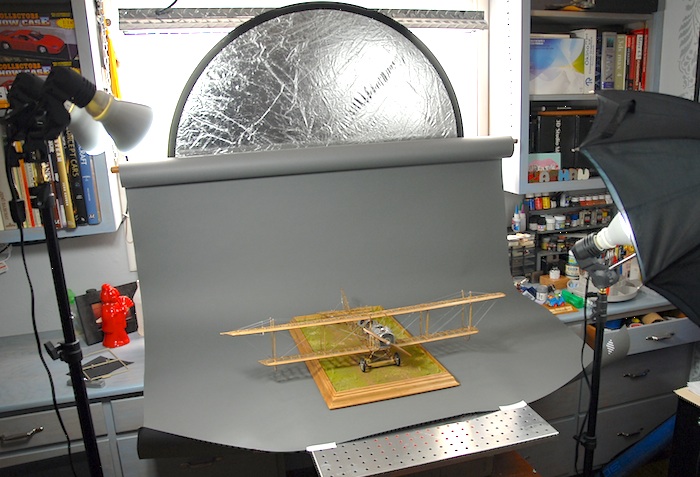
So, without further ado, here are the photos of the finished Model Airways Curtiss JN-4D Jenny:

Next up: A Machinen Krieger plastic model...
Since the last blog post, I've moved, gained a new (and improved!) model work space and managed to finish both the model and a simple base for it. Picking up where I last left off, I had a bit of carving to do to shape the propeller. It was constructed from a bunch of thin walnut strips, glued together to make a block that was thick enough to carve the prop from.

At the same time, I managed to start the wing rigging. There were a TON of wires on each side, which, on the real planes, kept the wings from folding up when flying.

Once the wings were rigged up, there were a few extra wires to add on, the finished prop to attach and the plane was done! Next up was to put together a base of some sort to attach it to. I wanted some sort of base, so that I could fasten the model to it and thereby make it much easier to transport, less likely to damage and maybe add a bit of visual appeal. I headed to Home Depot and grabbed some plywood and wooden molding. Some quality time with a saw, and a few small nails, and I had myself the makings of a base. board.

I decided that I wanted a simple covering for the base that was stain on the molding (that matched the plane) and a grass-like covering for the plywood. I grabbed some common model train terrain supplies and gave it a shot. This wasn't something that I had ever tried before, so I pretty much just winged it.

My shot at little tufts of grass:
 \
\With that done, I was ready to photograph it. The challenge here was that this was pretty much the largest model I have ever made. I decided that instead of using my regular background, which is just a couple of large sheets of paper, I should instead order a proper roll of backdrop paper, which was 53 inches wide and way longer than I'll ever need. This presented me with the challenge of how to hang the roll up while shooting my photos without having to purchase a bunch of backdrop stands. After another trip to Home Depot, I came home with a broom handle and a length of light chain. A few hooks screwed into the broom handle (cut down by a few inches) and hooks into the overhead wood and I've got a removable paper roll hanger.

Then, I dragged out the photo equipment and spent an hour or two shooting photos.

So, without further ado, here are the photos of the finished Model Airways Curtiss JN-4D Jenny:

Next up: A Machinen Krieger plastic model...
blog comments powered by Disqus
