
Tail Completion & Fuselage Start
24 - April - 2011 - 17:22
Lots of pictures and not much typing on this post. Enjoy the show!
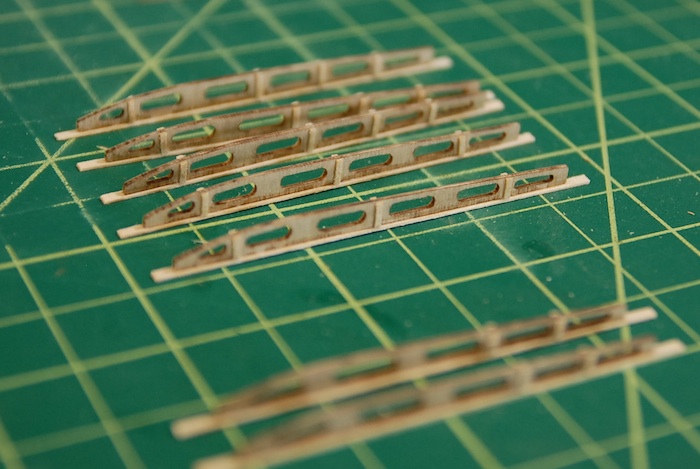
With the vertical stabilizer and rudder complete, I moved on to the horizontal stabilizer and elevator. The construction on this was very similar to that of the wings in that it is mostly laser-cut ribs and strip wood for strengthening and connecting. Here you can see the ribs with the lower cap strip and strengthening strips:
Here you can see the horizontal stabilizer going together on the plans sheet.
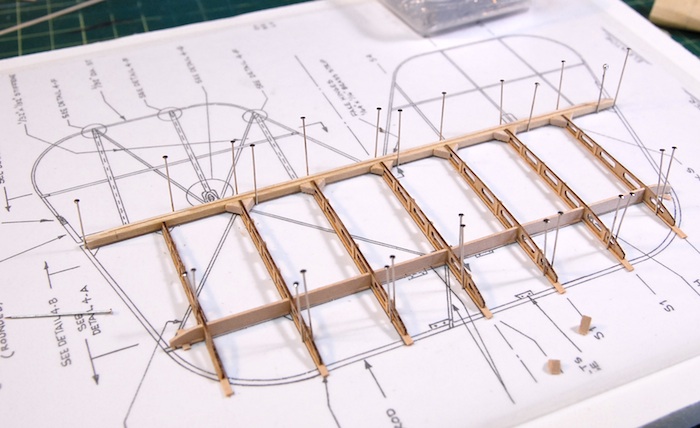
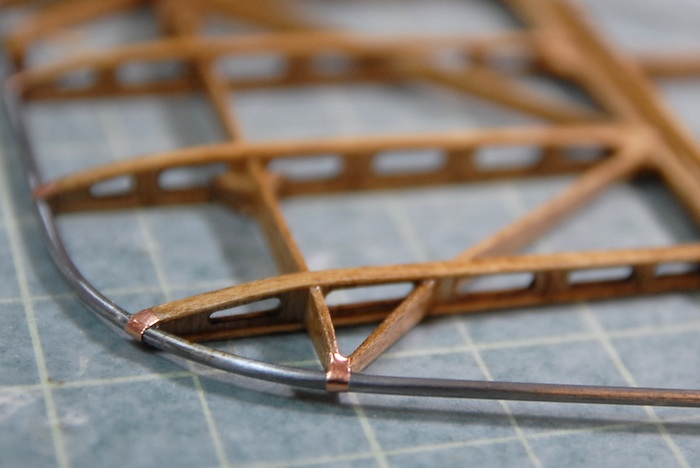
The leading edge on this piece is a steel rod, bent into shape after being heated up. The diagonal ribs are just strip wood cut and sanded into shape.
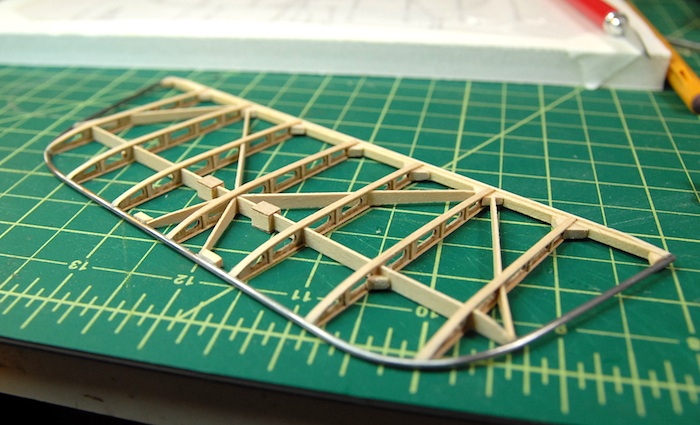
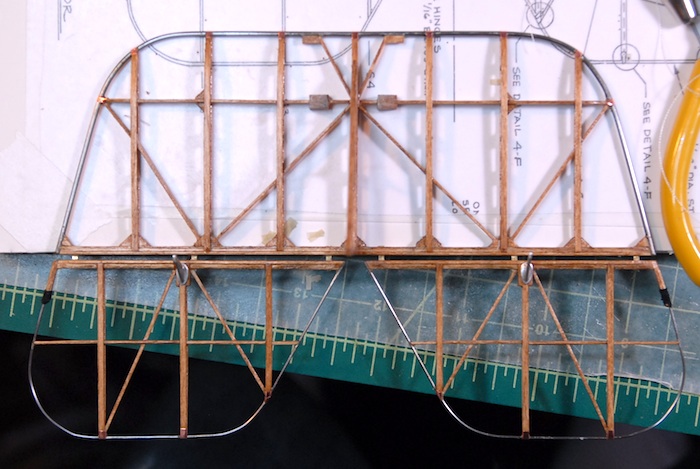
Once completed, this part can then be attached to the vertical stabilizer. Here you can see the connected pair drying after being stained.
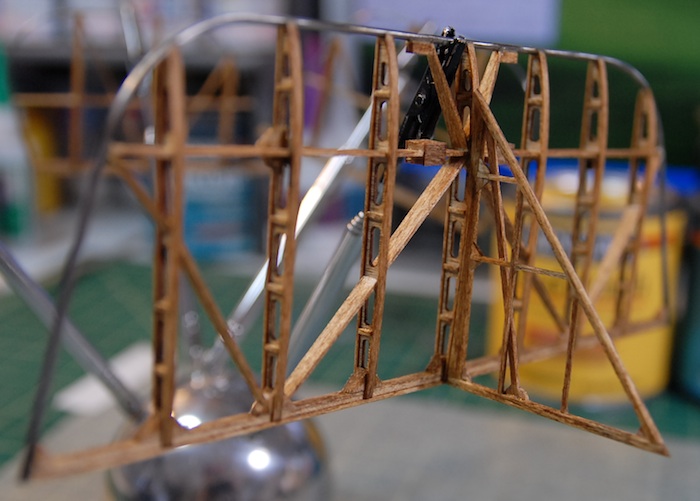
Once the stain and polyurethane was on the parts, I added the little bits of copper tape, which are meant to simulate the metal bands that hold the leading edge to the ribs.
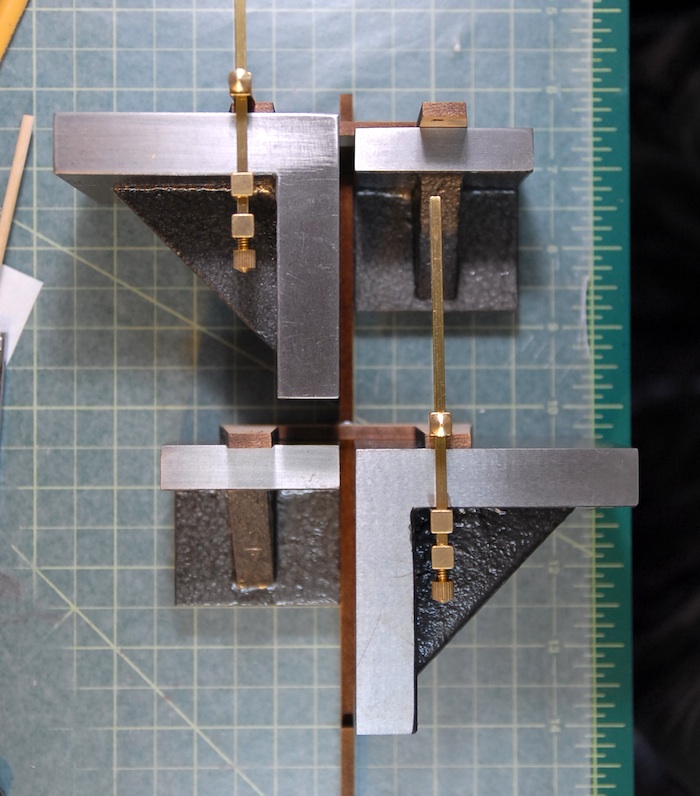
With that completed, the hinge slots were cut and the brass strips were cut for the fake hinges. Below you can see the elevators attached and the tiny fake hinges in place.
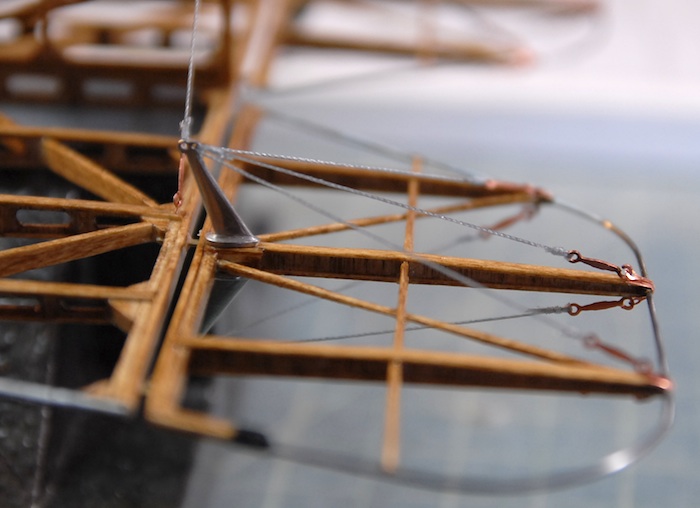
Before setting these parts aside, I did a little bit of rigging on the elevators and rudder, so that they are all ready to attach to the fuselage later on in the build.
With these parts done (for now), I was ready to move on to the next major step in the build...
The Fuselage!!
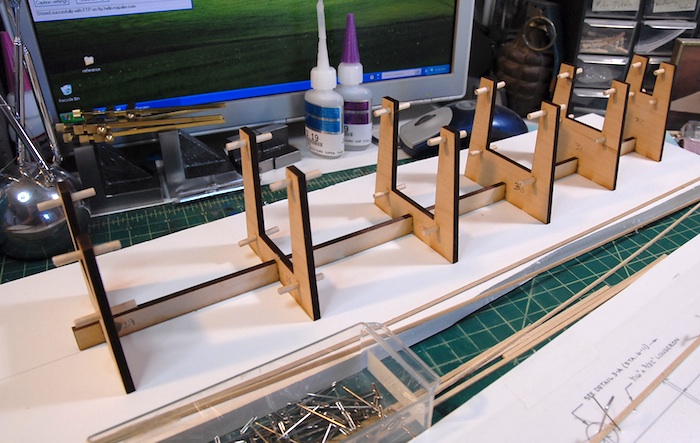
First and foremost, I had to put together a jig that will allow me to construct the fuselage in a square and true manner. The fit comes with a bunch of laser-cut parts that go together to form this jig, and below you can see it coming together.
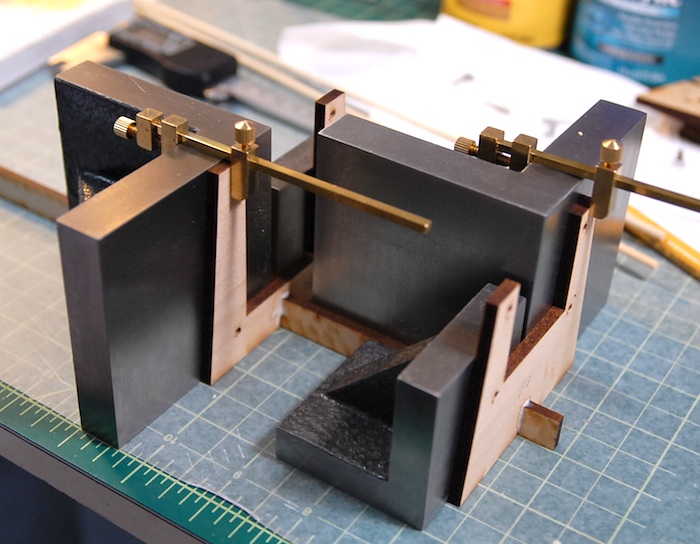
The little dowels are so that the fuselage pieces can be attached with rubber bands later on. Also, the jig is glued down to that piece of foam board, so that it stays nice and straight through the process.
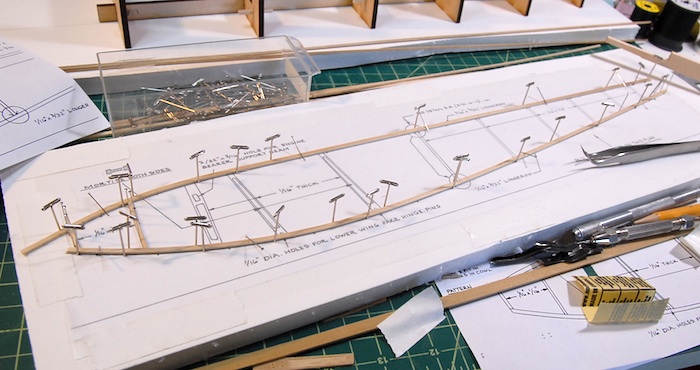
And finally, I've just soaked and bent the long pieces for one side of the fuselage frame. Here you can see it pinned down to the plans, with a few of the frame bits glued in (on the left side).
I've found that I'm not happy with the construction method for the three middle ribs. The pieces are supposed to have a mortise cut into each side of the rib, which is itself 1/16" thick. I've found that it is quite difficult to do this in a manner that doesn't look terrible. The wood tends to flake apart, or just look sloppy when I try to cut such a small amount out of it. Rather than keep trying or just settling for either non-mortised parts or sloppy-looking parts, I've decided to get some strips of very thin wood and attempt to build a sandwich-style rib, since I think cutting holes in thin wood will end up looking better than the carved-mortise version. I should end up with a part that looks just like it was carved out, except much cleaner and with much less hassle.
Tune in next time to see if my plan works ;)
With the vertical stabilizer and rudder complete, I moved on to the horizontal stabilizer and elevator. The construction on this was very similar to that of the wings in that it is mostly laser-cut ribs and strip wood for strengthening and connecting. Here you can see the ribs with the lower cap strip and strengthening strips:
Here you can see the horizontal stabilizer going together on the plans sheet.
The leading edge on this piece is a steel rod, bent into shape after being heated up. The diagonal ribs are just strip wood cut and sanded into shape.
Once completed, this part can then be attached to the vertical stabilizer. Here you can see the connected pair drying after being stained.
Once the stain and polyurethane was on the parts, I added the little bits of copper tape, which are meant to simulate the metal bands that hold the leading edge to the ribs.
With that completed, the hinge slots were cut and the brass strips were cut for the fake hinges. Below you can see the elevators attached and the tiny fake hinges in place.
Before setting these parts aside, I did a little bit of rigging on the elevators and rudder, so that they are all ready to attach to the fuselage later on in the build.
With these parts done (for now), I was ready to move on to the next major step in the build...
The Fuselage!!
First and foremost, I had to put together a jig that will allow me to construct the fuselage in a square and true manner. The fit comes with a bunch of laser-cut parts that go together to form this jig, and below you can see it coming together.
The little dowels are so that the fuselage pieces can be attached with rubber bands later on. Also, the jig is glued down to that piece of foam board, so that it stays nice and straight through the process.
And finally, I've just soaked and bent the long pieces for one side of the fuselage frame. Here you can see it pinned down to the plans, with a few of the frame bits glued in (on the left side).
I've found that I'm not happy with the construction method for the three middle ribs. The pieces are supposed to have a mortise cut into each side of the rib, which is itself 1/16" thick. I've found that it is quite difficult to do this in a manner that doesn't look terrible. The wood tends to flake apart, or just look sloppy when I try to cut such a small amount out of it. Rather than keep trying or just settling for either non-mortised parts or sloppy-looking parts, I've decided to get some strips of very thin wood and attempt to build a sandwich-style rib, since I think cutting holes in thin wood will end up looking better than the carved-mortise version. I should end up with a part that looks just like it was carved out, except much cleaner and with much less hassle.
Tune in next time to see if my plan works ;)
blog comments powered by Disqus