
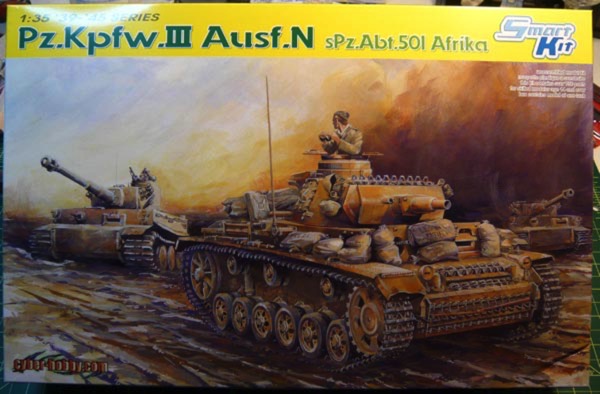
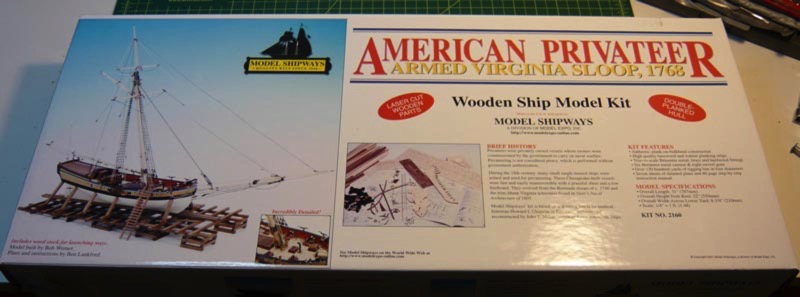
Armed Virginia Sloop - Now Armed!
02 - September - 2009 - 21:48
First off, I've gotten the rudder attached. This wasn't too tough, but I thought that I would share a little trick I used. The course I am following didn't make any mention of the little bolt heads that secure the straps to the rudder and to the ship. The plans make a brief mention of using cut off bits of wire for these bolt heads. I figured that even if I managed to cut off that small of a piece of wire without it flying across the room and disappearing, then trying to get that tiny bit super glued to the rudder was going to be practically impossible. So, instead, I borrowed a jar of acrylic medium (thick), and dipped a T pin into it and dabbed little bits of the gel onto the metal straps. This left nice little dots on there, which were just the right size. Once dry, a little brush with fine sandpaper to take the points off the dabs, and then I painted over both the metal strap and the gel and it all turned out pretty well, if I may say so.
Once the rudder was all done, I set about rigging, and attaching the cannons to the ship. The rigging was extra fiddly, as it required some very small knots be tied and some fairly springy rope be coiled. I am now proud to say that I can precisely tie an hangman's knot that is only a few millimeters long. Should anyone need to hang any traitorous insects, I can be of assistance.
This step had one goof and one trick.
The goof: turns out I rigged the cannons backwards when it came to the little block-and-tackle things on the sides. The blocks with two holes were supposed to be towards the outside of the ship, resulting in the rope exiting the rigging near the railing of the ship and making much more sense, if you think about how one would haul on the rope to run the cannon out. But since I didn't discover this until I had already rigged all the cannons, I decided it wasn't too big a deal.
The trick: The course I am following suggested forming the rope coils (on the deck next to each cannon) by soaking the string in a mixture of Elmer's glue and water and then then using a wet paintbrush to form the ring of rope. I think my string may have been a different type (polyester instead of cotton), since it didn't really seem to soak up the glue mixture and become more pliable. Instead it mostly just spread glue all around the deck of the ship as I tried to get it to stay in place. Eventually, I gave up on that method and decided to instead form the coils by wrapping the string around the handle of a paintbrush (carefully overlapping, so that it built up some thickness and held itself in place) and the putting a dab of superglue (fast) on at the end to hold the coil together. Then, before the glue complete hardened, I slipped the coil off the brush handle and glued it down to the deck with another dab of superglue (slow). This seemed to do the trick, and aside from gluing my fingers together and to the rope a few times, it turned out pretty well.
That's it for now. Next up are a few more pieces of random deck furniture, the little railing guns and various rigging fittings.
blog comments powered by Disqus