
AMG-SLS
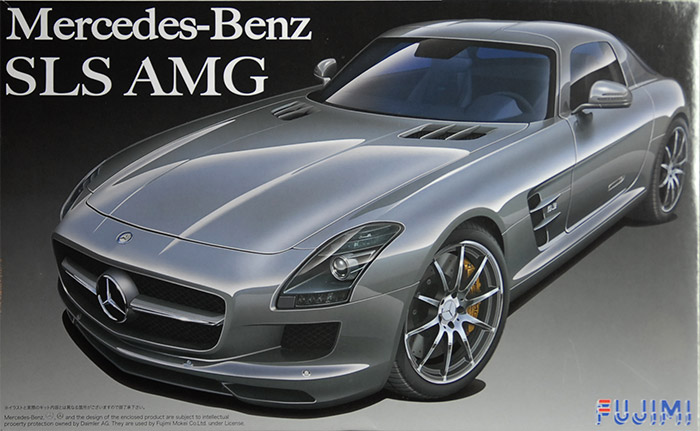
Mercedes-Benz SLS AMG
01 - December - 2013 - 12:14
In an effort to get better at shiny car paint finishes, I've decided to do a number of cars in a row. The first in this line of increasingly-shiny vehicles is this Mercedes-Benz SLS AMG.
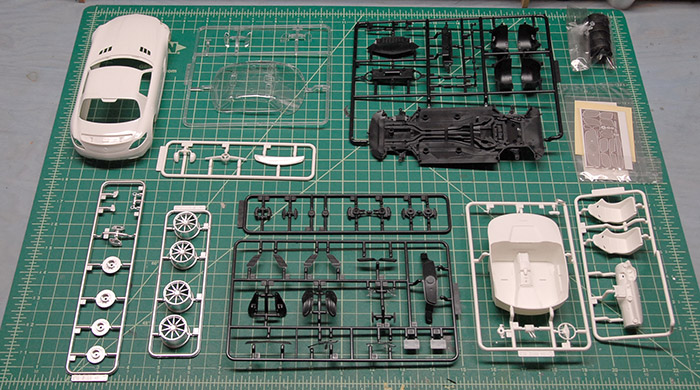
Below, you can see the various trees of parts. The body is a single piece, with no opening panels. There are a few parts (wheels, brakes, ducts) that are pre-painted in a satin metal that looks decent. There is also a bit of photo-etch that provide for replacing some of the plastic grills.
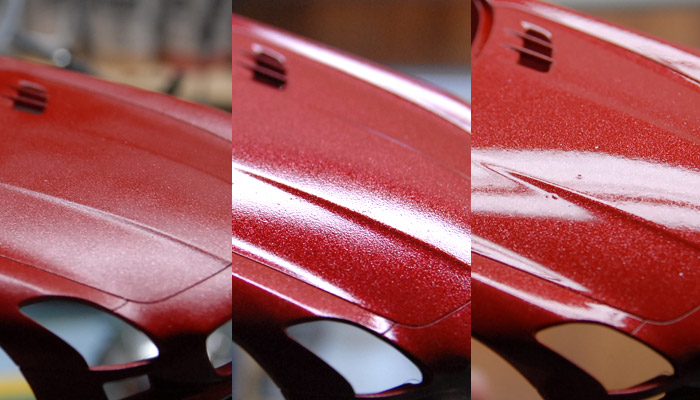
Since the goal of this project is practicing my car paint finishing, let's just right to that. I had been doing some reading on various scale modeling forums (Fine Scale Modeler forums, mostly) and had read good things about Testors one-coat lacquer, so I decided to give that a try. I bought one of their metallic red colors and some of their clear coat. After sanding out some seams and priming, the body and spoiler were ready for paint. In the image below, you can see how it looks after a few coats of the red paint (first image), after one coat of the clear coat (middle) and after two coats of the clear coat (third image). As you can see, I had a good deal of trouble trying to get the paint to go on glossy, always ending up with a pebbly finish. When the clear went over that, it smoothed it out a bit, but was still not the best.
In an effort to get a better finish, I took a series of sanding pads to the surface, smoothing out the orange peel texture and trying to get a better surface to spray more clear coat on to. Below you can see a few stages in the sanding process.
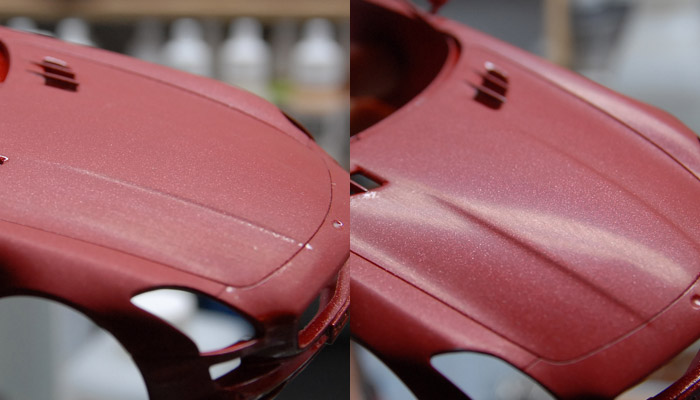
The problem I was having with this metallic paint was that as I sanded it, the metal flakes would come to the surface, and be silver spots, instead of the red-tinted flakes that they were when deeper in the paint. I suppose that is the nature of metal flake paint, but it definitely made things a bit more difficult as far as getting a nice consistent look.
After some more clear coat, the paint finish was definitely better, as you can see in the final images, but still not as good as I would like, as it still had a little bit of orange peel.
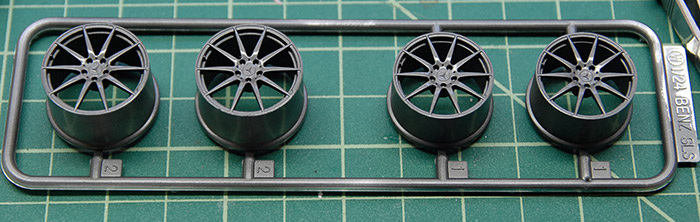
In reference that I found, the wheels also were available in a gunmetal color, which I think goes much better with the metallic red paint. Below you can see the wheels after being sprayed with some Alclad gunmetal paint and a couple coats of clear gloss.
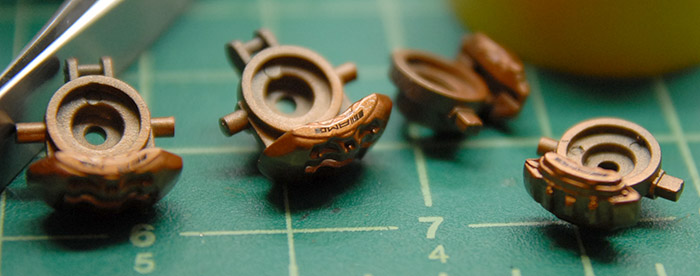
The brake calipers, after some paint, decals, and clear.
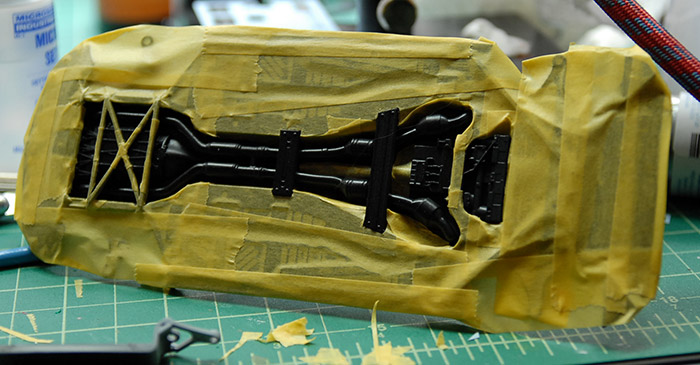
The chassis, after being painted black, masked for spraying of the various metal bits (exhaust, braces, engine, etc).
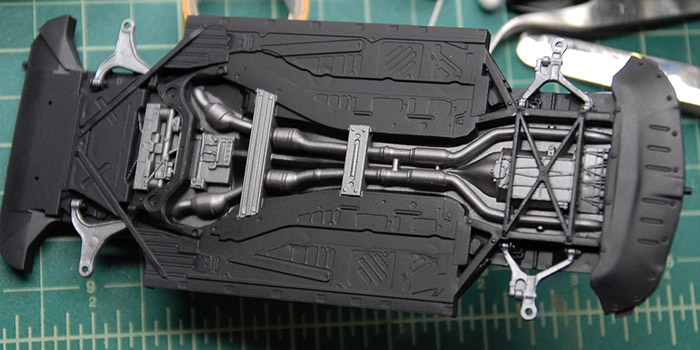
After the painting:
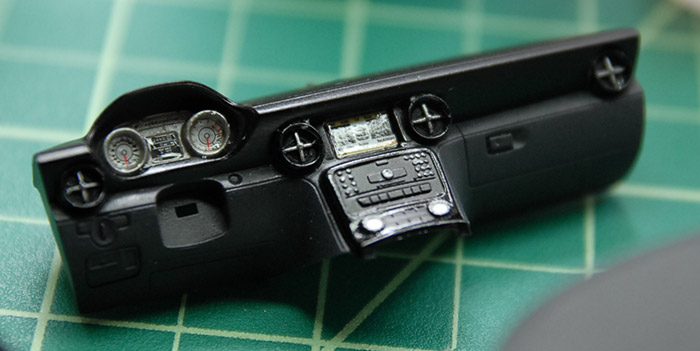
The interior of the real car looks to have a two-tone black/grey scheme (it may be black leather and Alcantara). I made an effort to replicate that scheme with black and grey paint and some selective application of some gloss varnish (from Vallejo). The dash after painting, and decals:
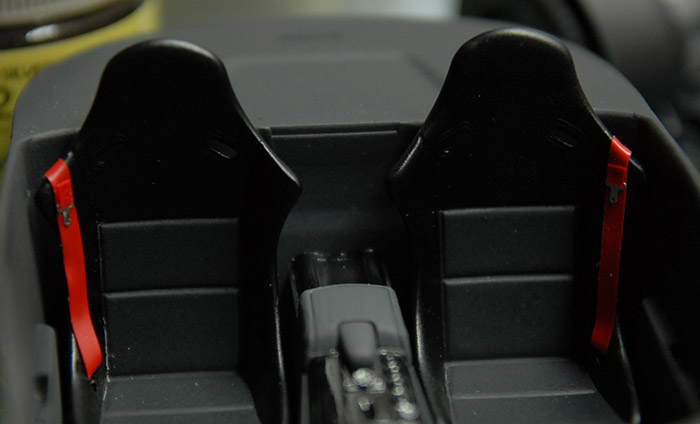
Since the kit didn't come with any seat belts, I used a bit of masking tape to make some, and added some buckles that I already had.
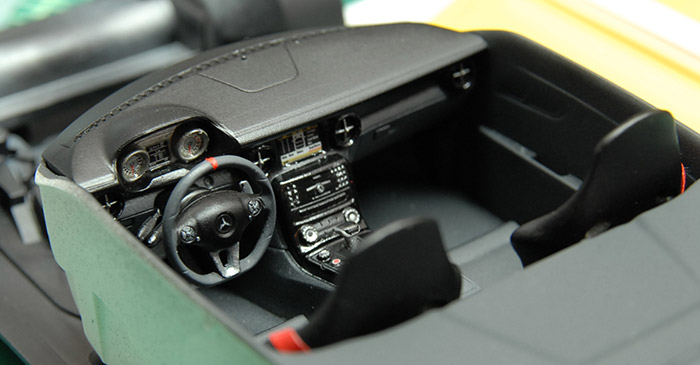
Below you can see the completed interior, before the top and bottom of the car was put together.
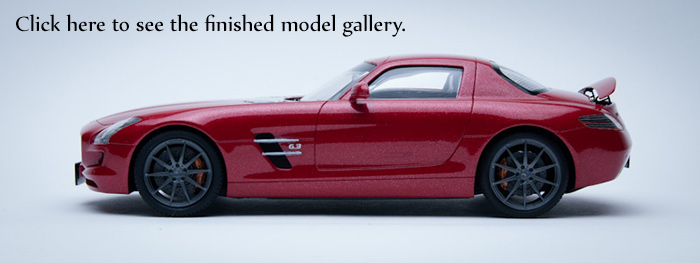
And finally, everything was put together and a bit of Tamiya model wax applied to clean and shine things up. Click on the image below to see the gallery of photos of the finished model:
Below, you can see the various trees of parts. The body is a single piece, with no opening panels. There are a few parts (wheels, brakes, ducts) that are pre-painted in a satin metal that looks decent. There is also a bit of photo-etch that provide for replacing some of the plastic grills.
Since the goal of this project is practicing my car paint finishing, let's just right to that. I had been doing some reading on various scale modeling forums (Fine Scale Modeler forums, mostly) and had read good things about Testors one-coat lacquer, so I decided to give that a try. I bought one of their metallic red colors and some of their clear coat. After sanding out some seams and priming, the body and spoiler were ready for paint. In the image below, you can see how it looks after a few coats of the red paint (first image), after one coat of the clear coat (middle) and after two coats of the clear coat (third image). As you can see, I had a good deal of trouble trying to get the paint to go on glossy, always ending up with a pebbly finish. When the clear went over that, it smoothed it out a bit, but was still not the best.
In an effort to get a better finish, I took a series of sanding pads to the surface, smoothing out the orange peel texture and trying to get a better surface to spray more clear coat on to. Below you can see a few stages in the sanding process.
The problem I was having with this metallic paint was that as I sanded it, the metal flakes would come to the surface, and be silver spots, instead of the red-tinted flakes that they were when deeper in the paint. I suppose that is the nature of metal flake paint, but it definitely made things a bit more difficult as far as getting a nice consistent look.
After some more clear coat, the paint finish was definitely better, as you can see in the final images, but still not as good as I would like, as it still had a little bit of orange peel.
In reference that I found, the wheels also were available in a gunmetal color, which I think goes much better with the metallic red paint. Below you can see the wheels after being sprayed with some Alclad gunmetal paint and a couple coats of clear gloss.
The brake calipers, after some paint, decals, and clear.
The chassis, after being painted black, masked for spraying of the various metal bits (exhaust, braces, engine, etc).
After the painting:
The interior of the real car looks to have a two-tone black/grey scheme (it may be black leather and Alcantara). I made an effort to replicate that scheme with black and grey paint and some selective application of some gloss varnish (from Vallejo). The dash after painting, and decals:
Since the kit didn't come with any seat belts, I used a bit of masking tape to make some, and added some buckles that I already had.
Below you can see the completed interior, before the top and bottom of the car was put together.
And finally, everything was put together and a bit of Tamiya model wax applied to clean and shine things up. Click on the image below to see the gallery of photos of the finished model: