
July 2012
Next Up: Hornethopter
14 - July - 2012 - 19:23
Moving right along, I've decided to try something new for my next project. While I worked with resin castings a bit during the Panzer build, I have never done a full resin model before. A little while back, my good friend, Neil Blevins, pointed me towards the Industria Mechanika web site. Industria Mechanika does both resin kit design as well as coordinating other artists and their designs. They bring the designs together with the production means and end up selling limited-run resin kits in a variety of themes. Finding their designs, and the premise of trying out a resin kit, interesting, I ordered up one of the smaller kits just as they were running the third edition of it.
That brings me to the next model:
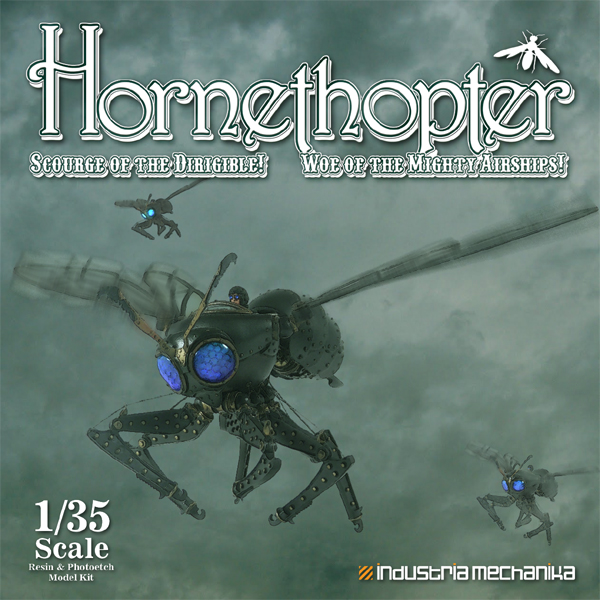
This one is a steampunk-styled Hornet-shaped ornithopter.
As you can see below, this kit is mostly resin castings, but also has a few photo-etch sheets (which are impressively thick), a clear windshield and two glass eye lenses. It also comes with a bit of coated wire for the leg rigging, but I don't think it i visible in the image below.

Here is a close-up on the straight-from-the-box leg segments. These will require a bit of clean up, a bit of filling and things of that nature, but overall, the castings look good and have lots of detail.

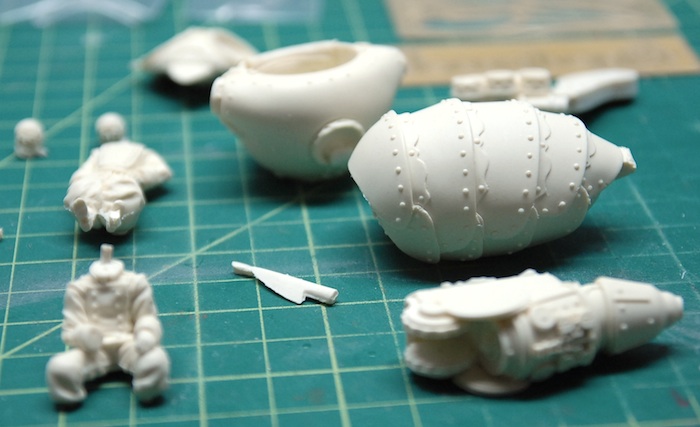
Below, you can see the main parts of the wasp body and the bodies of the figures that come with the kit.
This build is moving fairly quickly, since the overall parts count is much lower than the average plastic model. I expect to complete this one within a month or so, so watch out for more updates!
That brings me to the next model:
This one is a steampunk-styled Hornet-shaped ornithopter.
As you can see below, this kit is mostly resin castings, but also has a few photo-etch sheets (which are impressively thick), a clear windshield and two glass eye lenses. It also comes with a bit of coated wire for the leg rigging, but I don't think it i visible in the image below.
Here is a close-up on the straight-from-the-box leg segments. These will require a bit of clean up, a bit of filling and things of that nature, but overall, the castings look good and have lots of detail.
Below, you can see the main parts of the wasp body and the bodies of the figures that come with the kit.
This build is moving fairly quickly, since the overall parts count is much lower than the average plastic model. I expect to complete this one within a month or so, so watch out for more updates!
Kröte - Finished and Photographed
04 - July - 2012 - 20:42
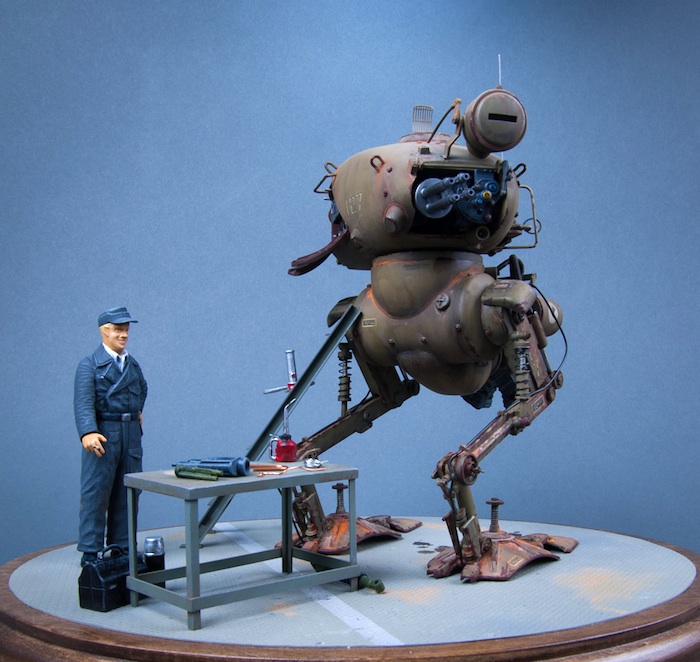
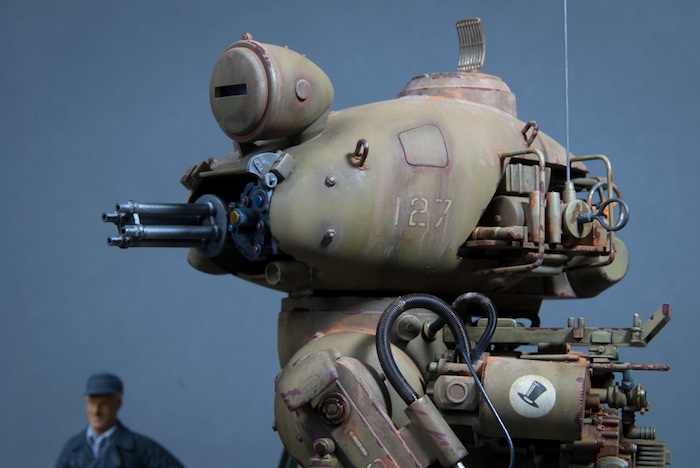
Another one wrapped up. Below you can see the finished product. Once I went to put everything together, I found that the concave bottom of the robot feet made it quite difficult to glue down to the base. I ended up having to build some additional structure on to the feet bottoms so that there was something of substance under there that could be glued down.
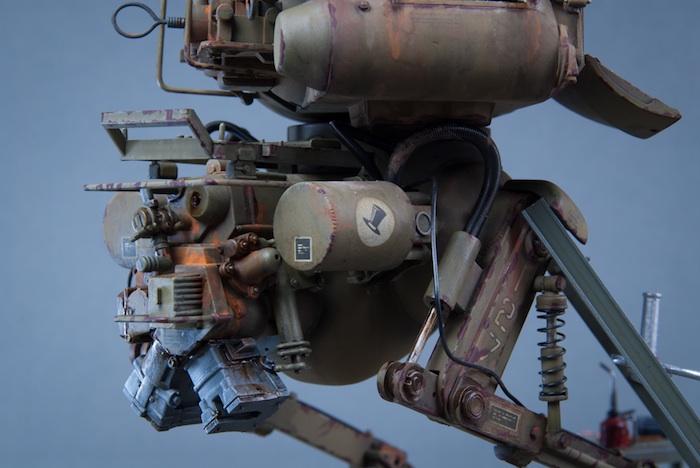
Weathering was done with MIG pigments and Abteilung oils. I also went back and added a good deal of red primer-colored paint along many of the edges to represent chipped and scraped paint. It's another new technique for me (since I don't do much armor modeling) and I feel that it was somewhat successful. Next time, though, I think I'll approach it a little differently, using some of the same salt-mask techniques on the flooring and maybe looking into a similar technique that uses hairspray as a masking agent.
Next, various washes of dark oils and pigments, spread around with mineral spirits were used to accent the details. Some selective areas of dirt and rust, also spread with mineral spirits, picked out areas that I thought would likely rust a bit. Finally, a few touches of MIG Oil and Grime mixture (basically a black/brown sludge that dries glossy to look wet) were used to add some leaky areas and a few spots on the floor.
Click on any of the images, or the link on the side bar to the left, to go to the full gallery.
Thanks for reading!
Kröte - Diorama and Weathering
04 - July - 2012 - 11:34
Part way through the build of this kit, I decided that I wanted a little bit of environmental context for the completed model. For me, that meant building an appropriate base for it to stand on, as well as a few props to give context to why the model had its side panel opened up. Since the kit also came with the figure, I thought a good solution was to make the floor something like an aircraft hanger floor, to add a table and ladder, a few dollhouse tools and accessories and a few painted parts from the spares drawer.
Starting with the floor, as I mentioned in the last post, I painted it all a metal color and gave it a few thick coats of clear to protect the metal paint. Next, I decided to try out a new technique: using salt and water to roughly mask coats of paint. This involved dampening the surface and sprinkling table salt over it. The water made the salt stick and I pushed it around a bit with my finger to get it to clump together a bit. Once allowed to dry, the salt hardens up and is ready for painting. Below, you can see my freshly salted floor.
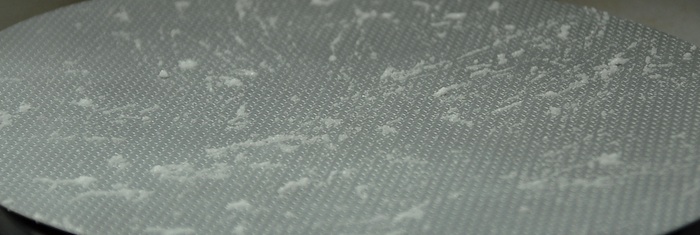
After the salting, I applied a few coats of various shades of grey paint. Then I rubbed some of the salt off, exposing the bright metal underneath. Being that this was the first time I tried this technique, I found that I had probably used a bit much salt, making my chips very large and very numerous. So, I left some of the salt on there and then airbrushed a few light coats of more grey paint over the newly-exposed metal areas. This dulled them down a bit, and added some depth. Next I masked and sprayed a white line across the floor, just for visual interest. Finally, I rubbed off the last little bits of salt, leaving a few fresh paint chips. As an added touch, I took a fine grain sanding stick and gave the surface a very light sanding. As I had hoped, this took the grey paint off of the raised areas, but didn't get down to the metal paint, because of the thick coats of clear in between. This gave me the look of having the grey paint rubbed off of all of the raised parts of the diamond plate.
Next up was to build a few extra bits of furniture in order to help fill out the scene. I figured that a little work table would make sense, so I put one together using some strip and sheet styrene that I had around. Below you can see the completed, but unpainted, table in place as I tried to figure out where things should be situated on the base.
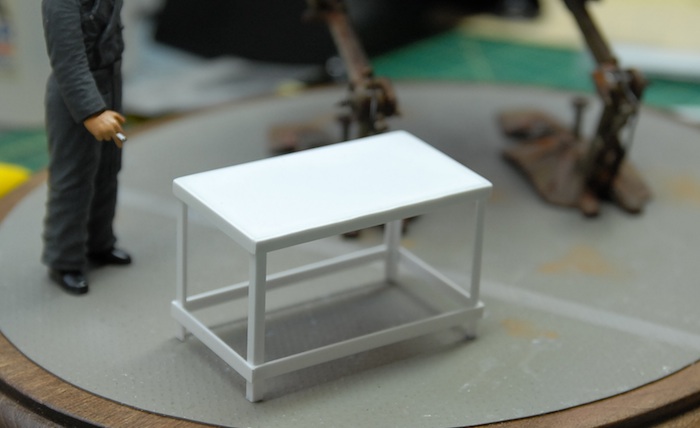
After the table, I noticed that the figure would be far too short to reach the open access panel of the machine without some sort of stool or ladder. So, using the same sort of strip and sheet styrene, I built a little ladder to lean against the side of the model (although I forgot to take a photo of it). This just left a bit of painting on the new parts and weathering of all parts. Below you can see part of my collection of pigments and oil paints that were used for the weathering and detailing. You can also see the couple of doll house props that I bought to go along with this (oil can, lunch box)

That's it for this entry. Up next: photos of the finished model and diorama. Thanks for reading!
Starting with the floor, as I mentioned in the last post, I painted it all a metal color and gave it a few thick coats of clear to protect the metal paint. Next, I decided to try out a new technique: using salt and water to roughly mask coats of paint. This involved dampening the surface and sprinkling table salt over it. The water made the salt stick and I pushed it around a bit with my finger to get it to clump together a bit. Once allowed to dry, the salt hardens up and is ready for painting. Below, you can see my freshly salted floor.
After the salting, I applied a few coats of various shades of grey paint. Then I rubbed some of the salt off, exposing the bright metal underneath. Being that this was the first time I tried this technique, I found that I had probably used a bit much salt, making my chips very large and very numerous. So, I left some of the salt on there and then airbrushed a few light coats of more grey paint over the newly-exposed metal areas. This dulled them down a bit, and added some depth. Next I masked and sprayed a white line across the floor, just for visual interest. Finally, I rubbed off the last little bits of salt, leaving a few fresh paint chips. As an added touch, I took a fine grain sanding stick and gave the surface a very light sanding. As I had hoped, this took the grey paint off of the raised areas, but didn't get down to the metal paint, because of the thick coats of clear in between. This gave me the look of having the grey paint rubbed off of all of the raised parts of the diamond plate.
Next up was to build a few extra bits of furniture in order to help fill out the scene. I figured that a little work table would make sense, so I put one together using some strip and sheet styrene that I had around. Below you can see the completed, but unpainted, table in place as I tried to figure out where things should be situated on the base.
After the table, I noticed that the figure would be far too short to reach the open access panel of the machine without some sort of stool or ladder. So, using the same sort of strip and sheet styrene, I built a little ladder to lean against the side of the model (although I forgot to take a photo of it). This just left a bit of painting on the new parts and weathering of all parts. Below you can see part of my collection of pigments and oil paints that were used for the weathering and detailing. You can also see the couple of doll house props that I bought to go along with this (oil can, lunch box)
That's it for this entry. Up next: photos of the finished model and diorama. Thanks for reading!