
GT-R Complete & Photos
08 - August - 2010 - 10:07
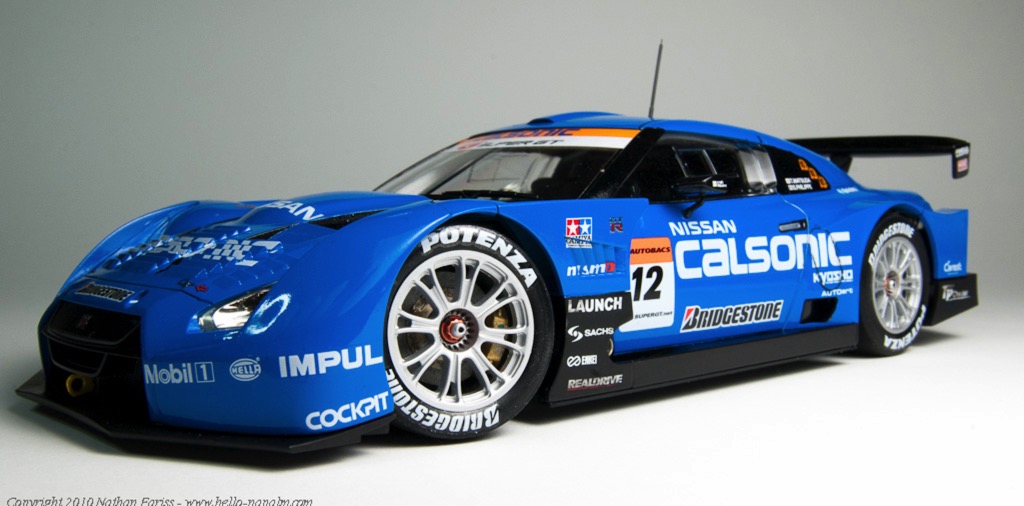
I've wrapped up the build of the Tamiya GT-R kit. By the time I was finishing up this kit, I was remembering why is was that I tried a wooden kit in the first place. I get worn out on all the painting, the frustrations of various paint types not agreeing with one another, and the fragility of decals. Although at least with this project, I took away a few valuable lessons that I can keep in mind for future similar projects. Here are a few tidbits to remember:
- If it is going to be shiny, use lacquer. Tamiya's gloss acrylics just never behave when airbrushed.
- Don't use the microSOL (aka Decal Melter) until the decal is in it's final place and already partly dry.
- If some of it will be painted over, remove the underlying chrome plating first, otherwise, the paint will just chip off, despite using primer.
- Give the aforementioned lacquer PLENTY of time to dry before putting masking tape on it. Probably should wait 24 hours before trying.
- One should probably order a second set of decals for a project like this, as some are sure to be damaged. Alternately, perhaps one could scan them, and buy a self-print decal sheet so one could make replacements (although I'm not sure about the quality difference here)
- Third party racing harness kits, while pretty cool, might not be worth the effort unless the car is an open wheel type.
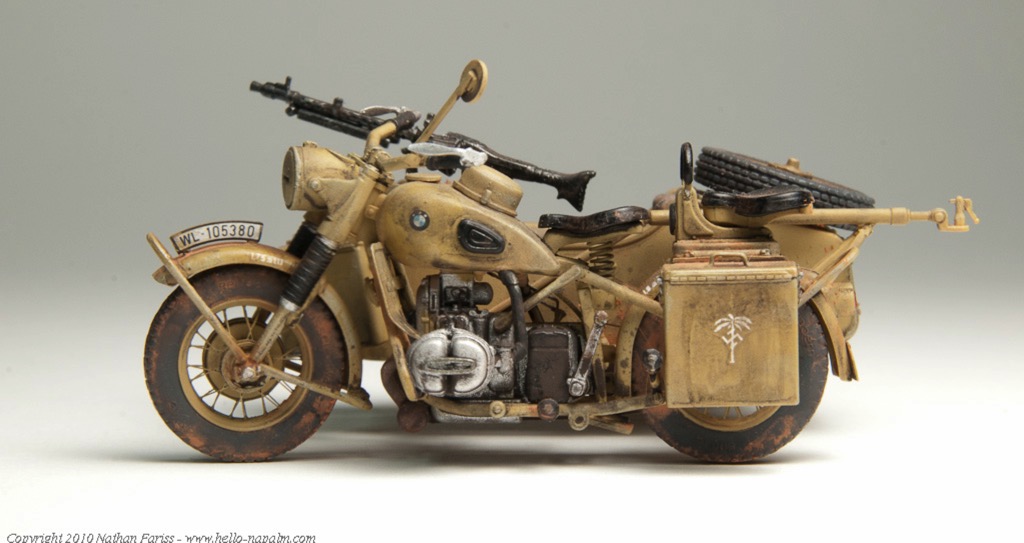
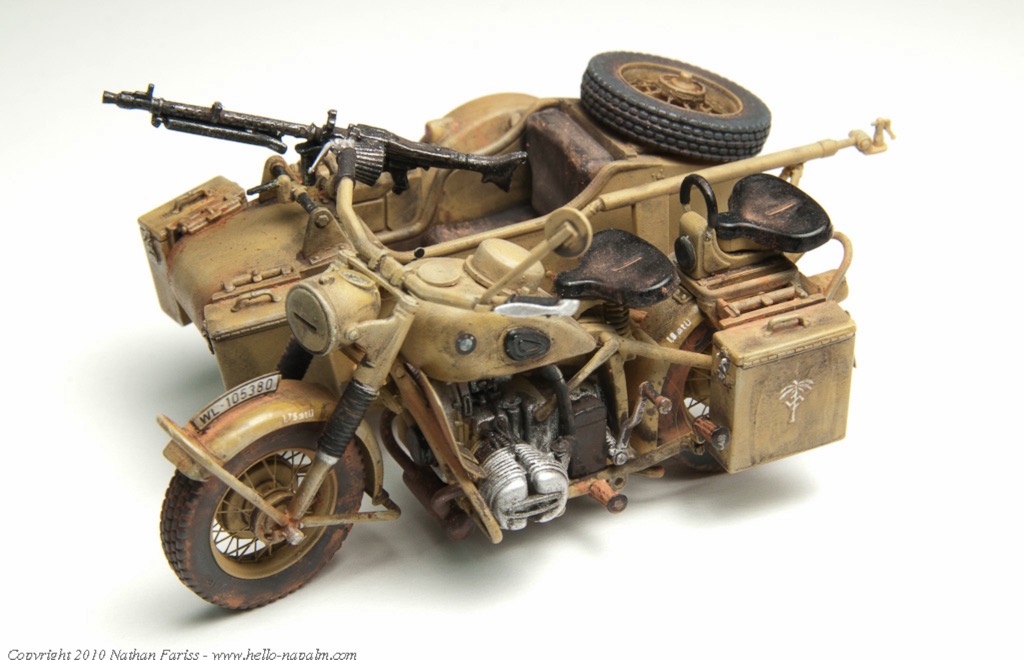
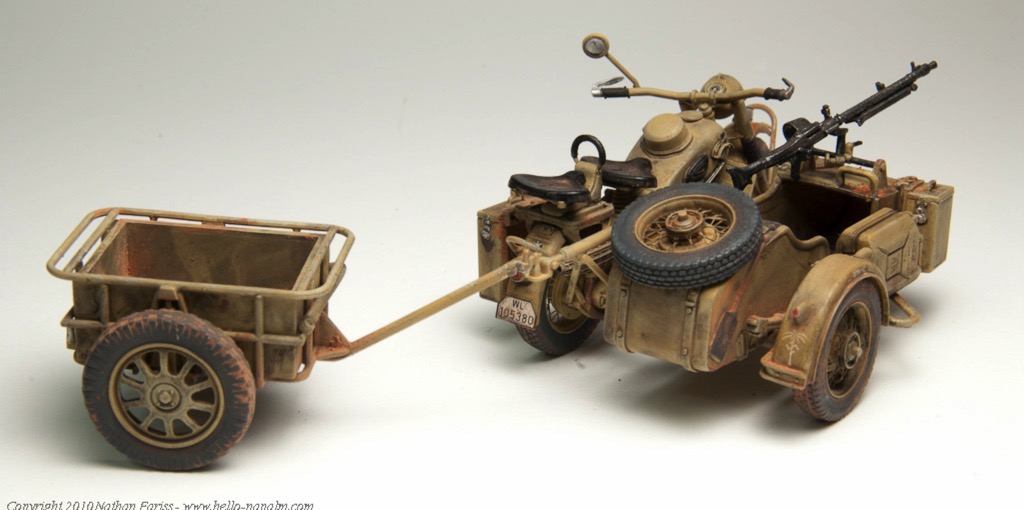
Anyhow, with this project completed, I spent a few minutes photographing but this car and the last project (WWII BMW r75 motorcycle). I recently purchased a new lens, which has some macro capabilities, and tried that out on this shoot. I am pretty pleased with the results. Here are a few images of the completed models:
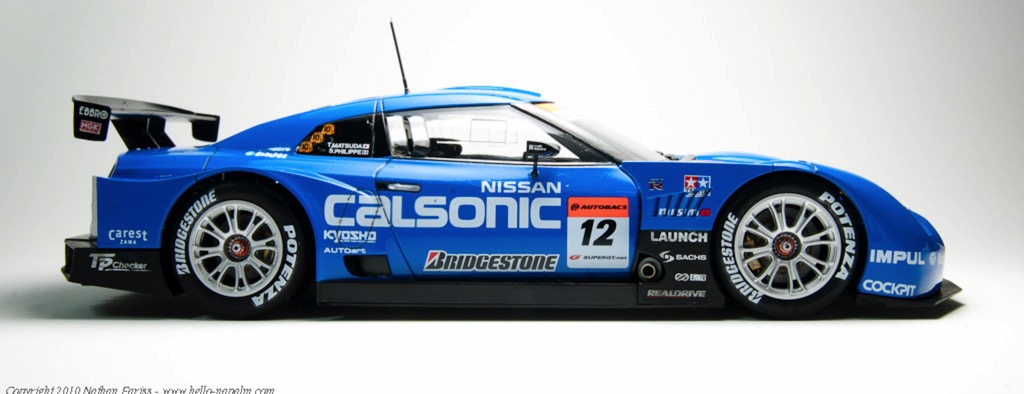
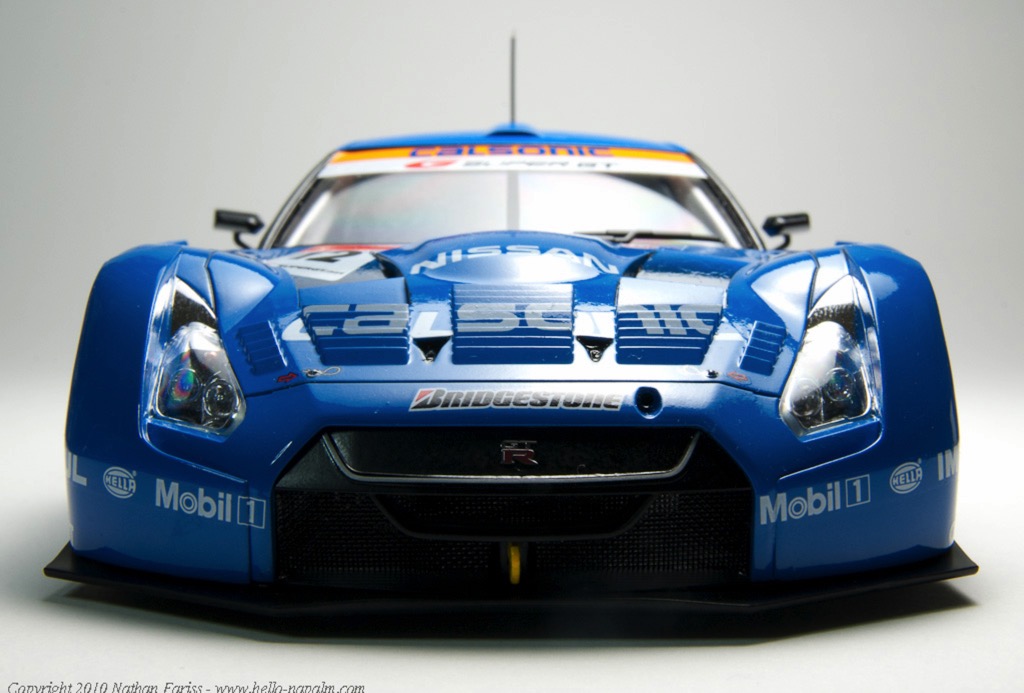
The full galleries are online and can be seen in the completed models section of this web site.
Next up: Model Airways' Curtis 'Jenny' wooden plane. Stay tuned for more model adventures!
- If it is going to be shiny, use lacquer. Tamiya's gloss acrylics just never behave when airbrushed.
- Don't use the microSOL (aka Decal Melter) until the decal is in it's final place and already partly dry.
- If some of it will be painted over, remove the underlying chrome plating first, otherwise, the paint will just chip off, despite using primer.
- Give the aforementioned lacquer PLENTY of time to dry before putting masking tape on it. Probably should wait 24 hours before trying.
- One should probably order a second set of decals for a project like this, as some are sure to be damaged. Alternately, perhaps one could scan them, and buy a self-print decal sheet so one could make replacements (although I'm not sure about the quality difference here)
- Third party racing harness kits, while pretty cool, might not be worth the effort unless the car is an open wheel type.
Anyhow, with this project completed, I spent a few minutes photographing but this car and the last project (WWII BMW r75 motorcycle). I recently purchased a new lens, which has some macro capabilities, and tried that out on this shoot. I am pretty pleased with the results. Here are a few images of the completed models:
The full galleries are online and can be seen in the completed models section of this web site.
Next up: Model Airways' Curtis 'Jenny' wooden plane. Stay tuned for more model adventures!
blog comments powered by Disqus