
Armed Virginia Sloop, pt 6
14 - June - 2009 - 20:18
Construction Continues.... The past few weeks have been super busy, and I've only just this weekend been able to devote some time to working on the ship.
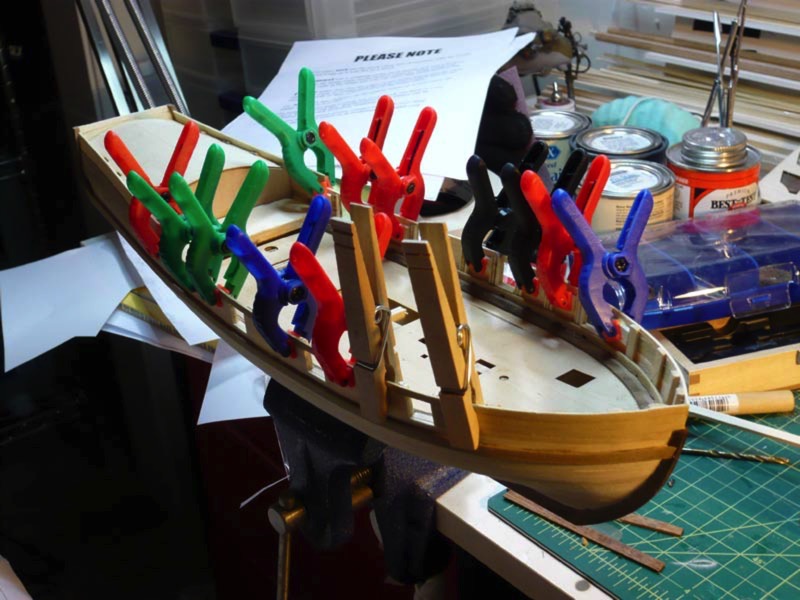
Here you can see the ship all clamped up as I was gluing in the little basswood blocks where the sweep ports (oar-holes) go. Once that was all done, I found that I had to shim some of the ribs in order to get a uniform thickness everywhere. So, I spent some time shimming and trimming and sanding and cutting, and once satisfied, I was able to put the walnut planking on the inside.
Here you can see the ship all clamped up as I was gluing in the little basswood blocks where the sweep ports (oar-holes) go. Once that was all done, I found that I had to shim some of the ribs in order to get a uniform thickness everywhere. So, I spent some time shimming and trimming and sanding and cutting, and once satisfied, I was able to put the walnut planking on the inside.
blog comments powered by Disqus